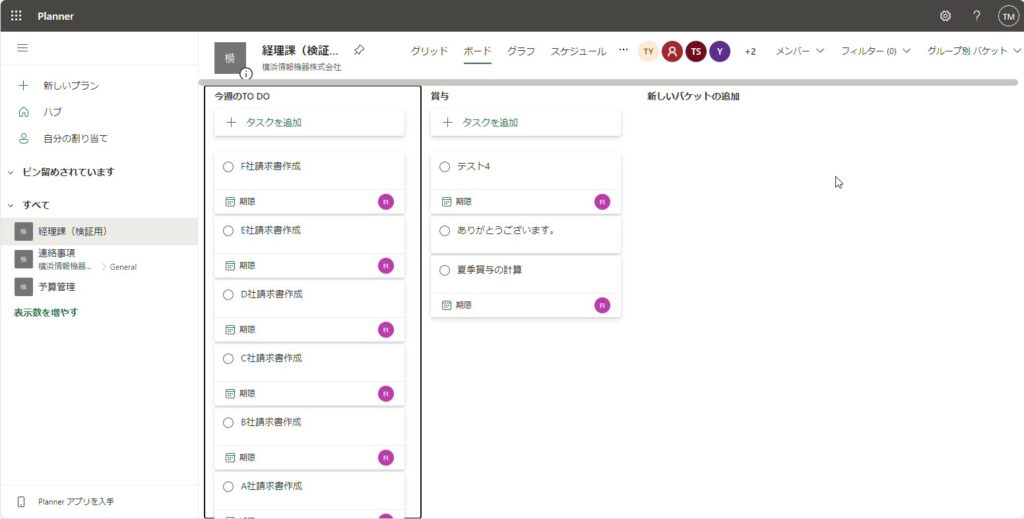
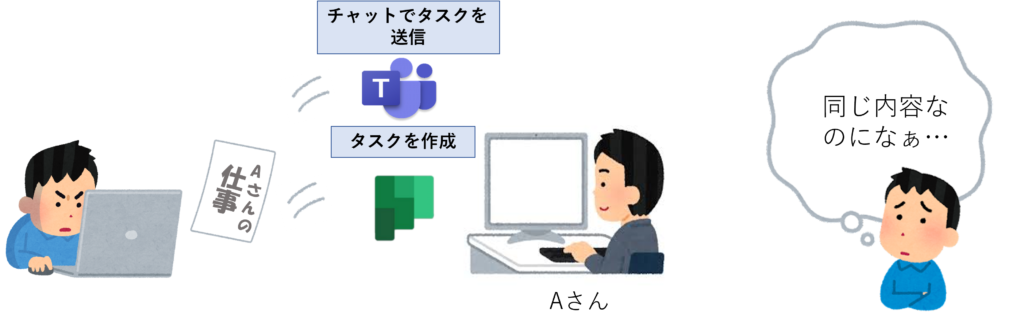
「タスクの管理を効率化したい」「Plannerで作成したタスクをTeamsでも送るのがめんどくさい」「二重作業を解消したい」
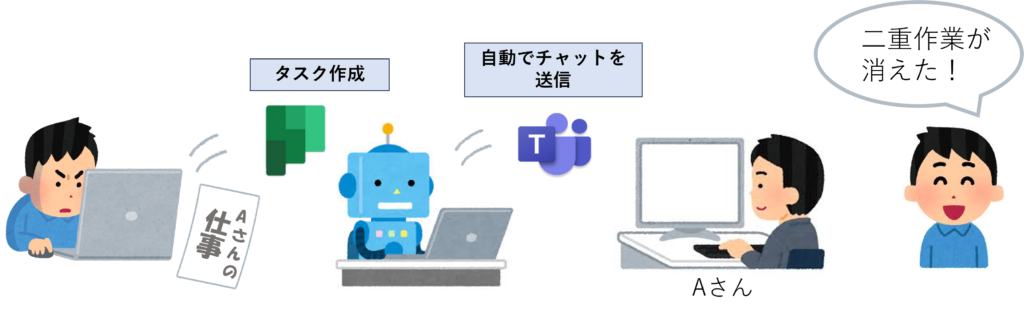
このブログではPlannerで新しくタスクが追加された際、そのタスクの担当者にTeams上で自動的に通知がいくように設定する方法について解説しています。
手順1 Plannerからプランを作成(既存のプランで運用する場合は省略)
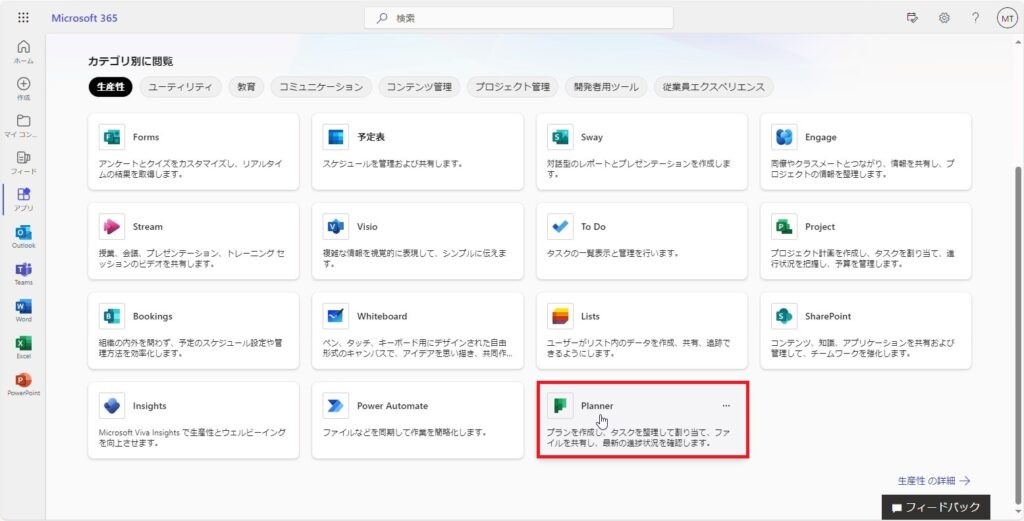
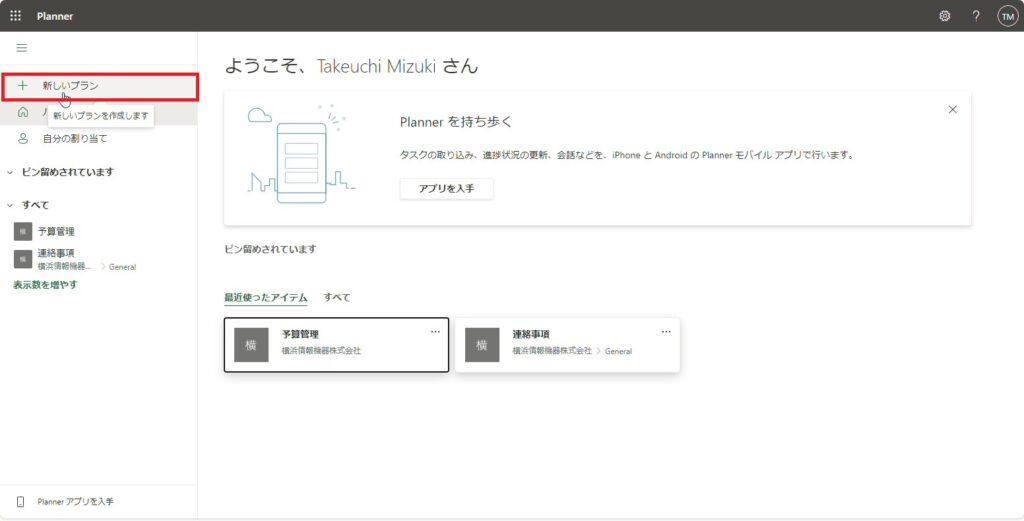
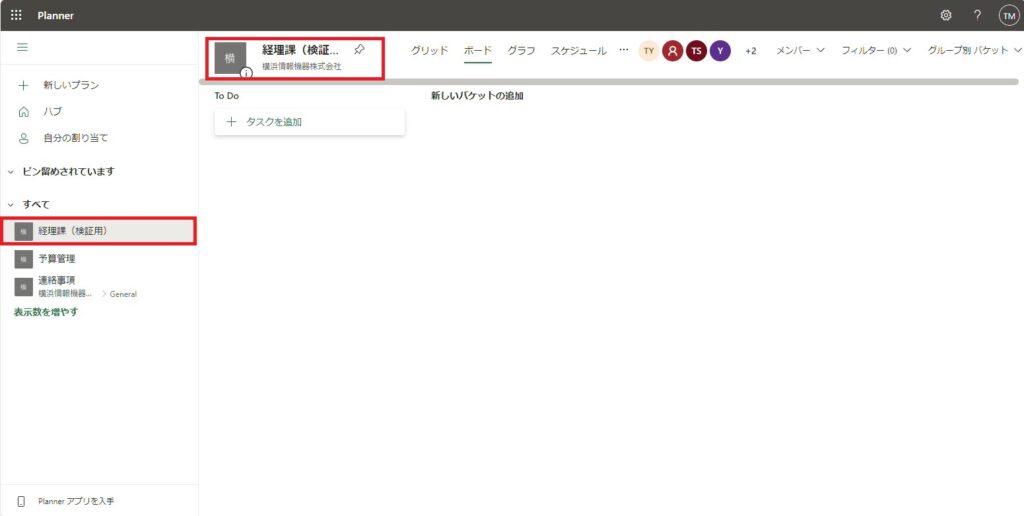
1.Plannerを開きます。
2.「新しいプラン」をクリックします。
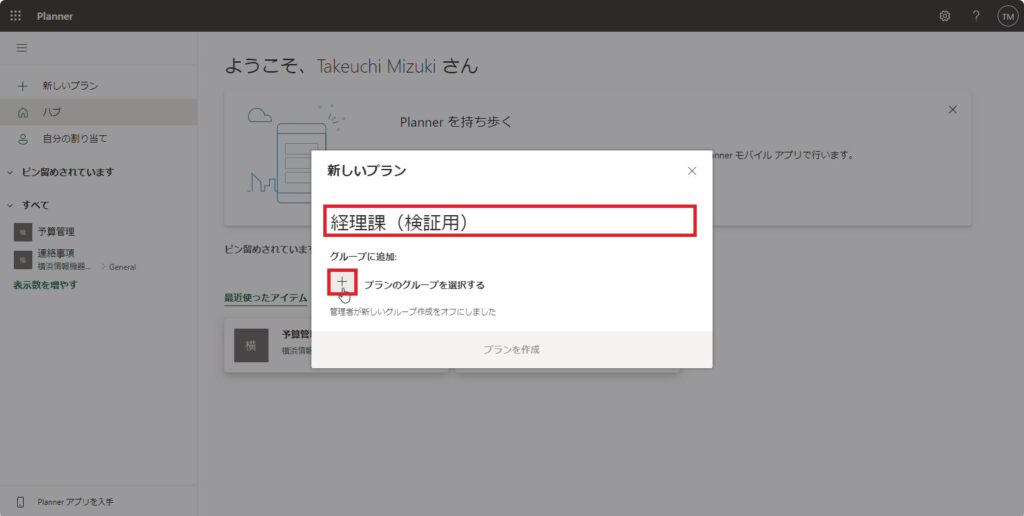
3.任意のプラン名を入力し、「+」をクリックしてプランを運用するグループを選択します。
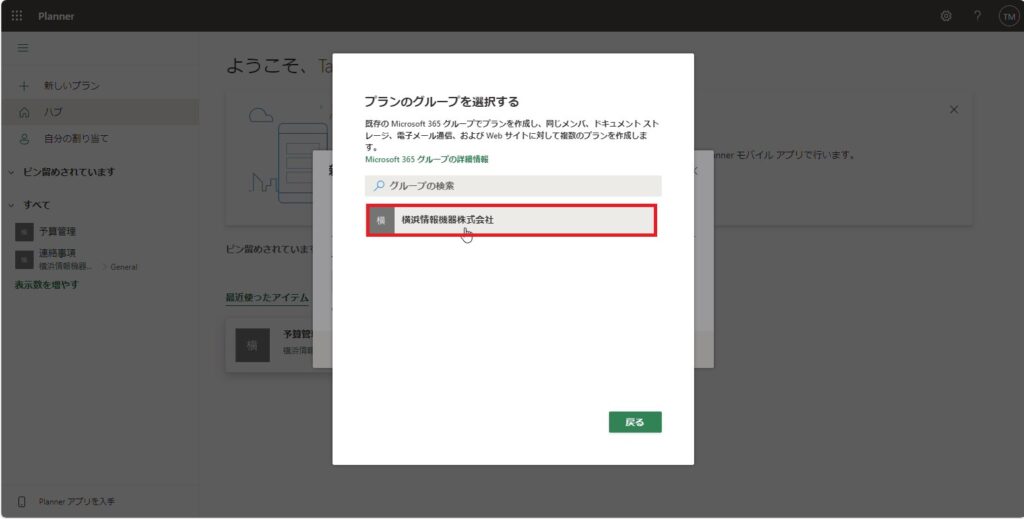
4.任意のグループを選択します。
5.「プランを作成」をクリックします。
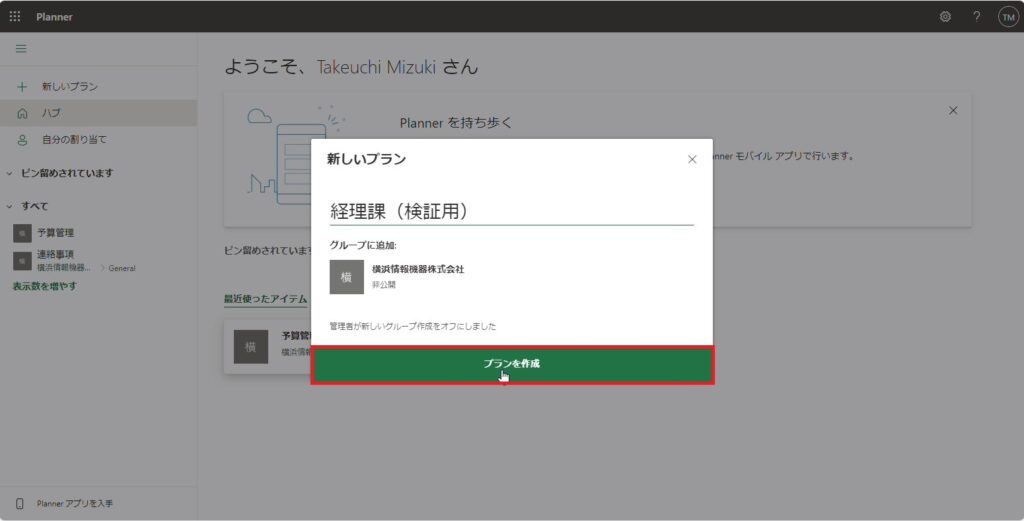
6.新しいプランが完成しました。
手順2 Power Automateでフローを作成
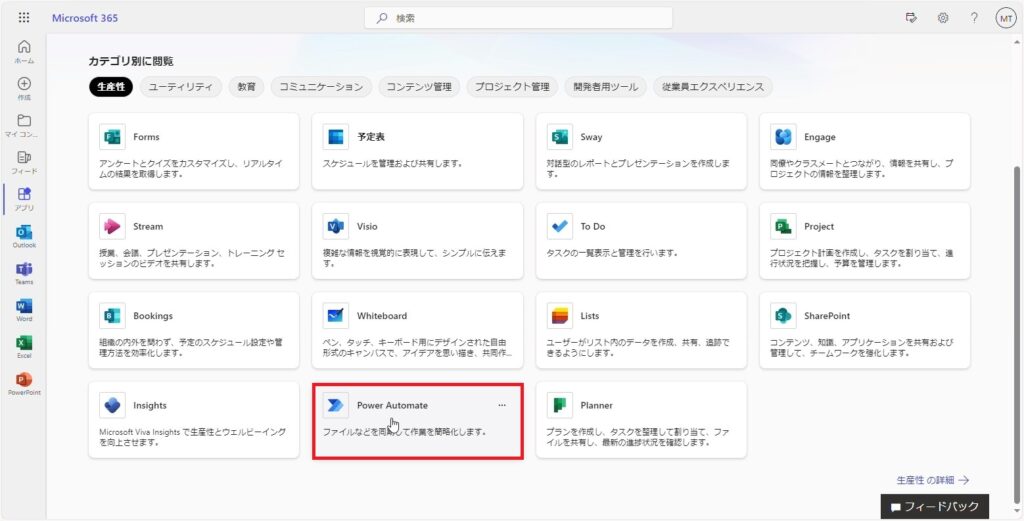
1.「Power Automate」を開きます。
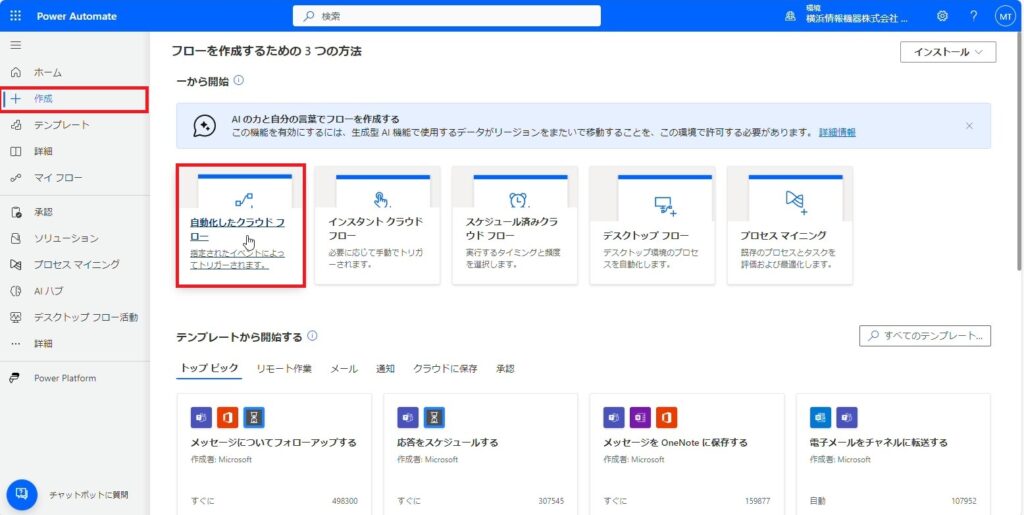
2.「作成」をクリックし、「自動化したクラウドフロー」をクリックします。
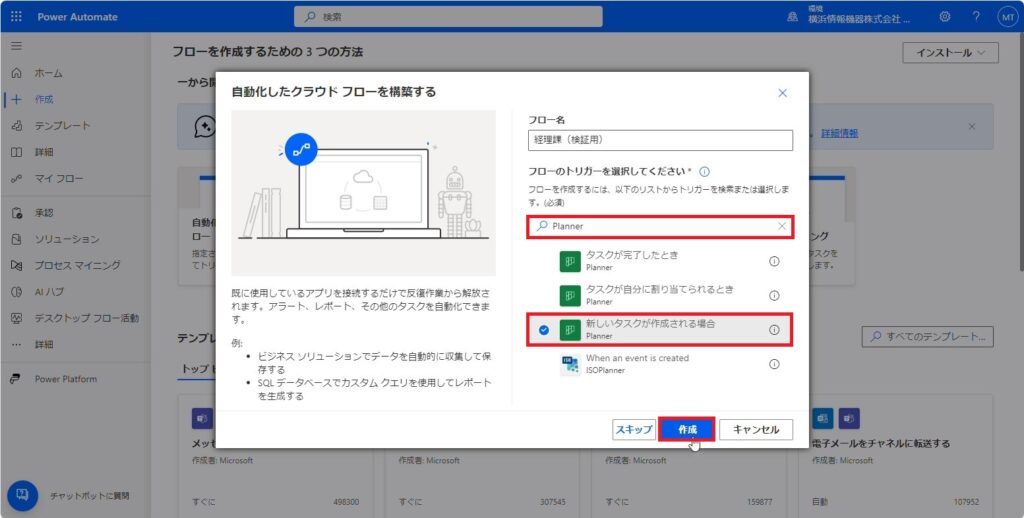
3.フロー名に、任意の名前を入力します。ここでは、「経理課(検証用)」と設定します。
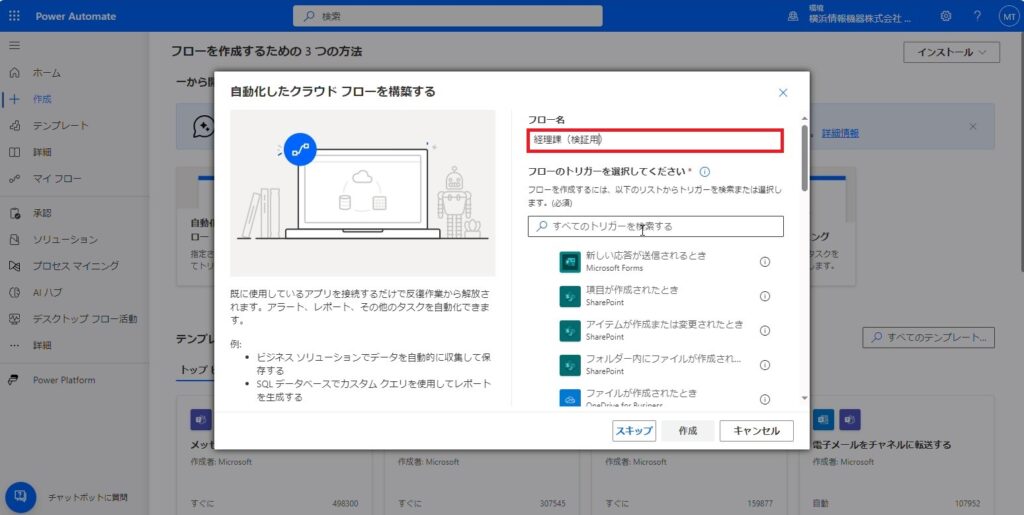
4.フローのトリガーを「Planner」と入力して検索します。「新しいタスクが作成される場合」を選択し、「作成」をクリックします。
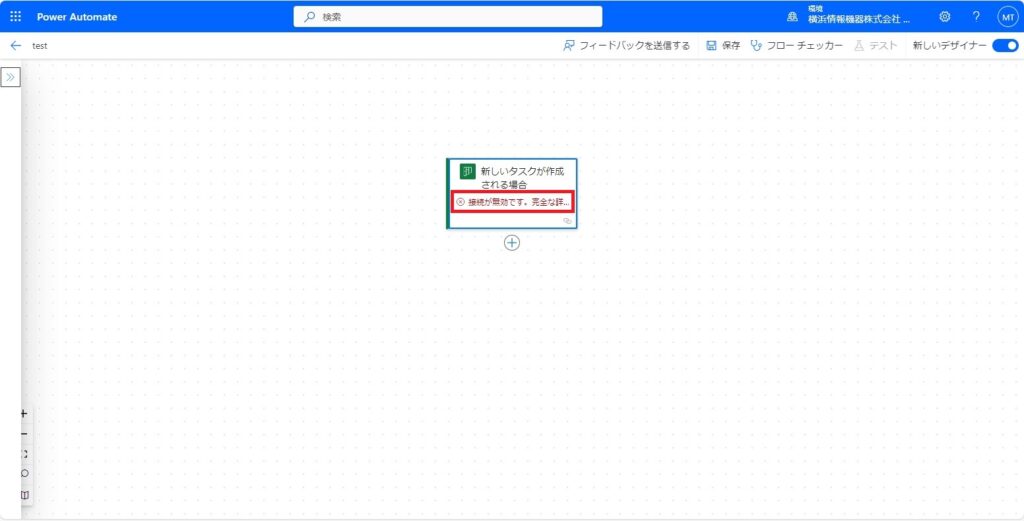
5-1.エラーが出た場合は、エラー文をクリックします。エラーが表示されない方は、そのまま手順7に進んでください。)
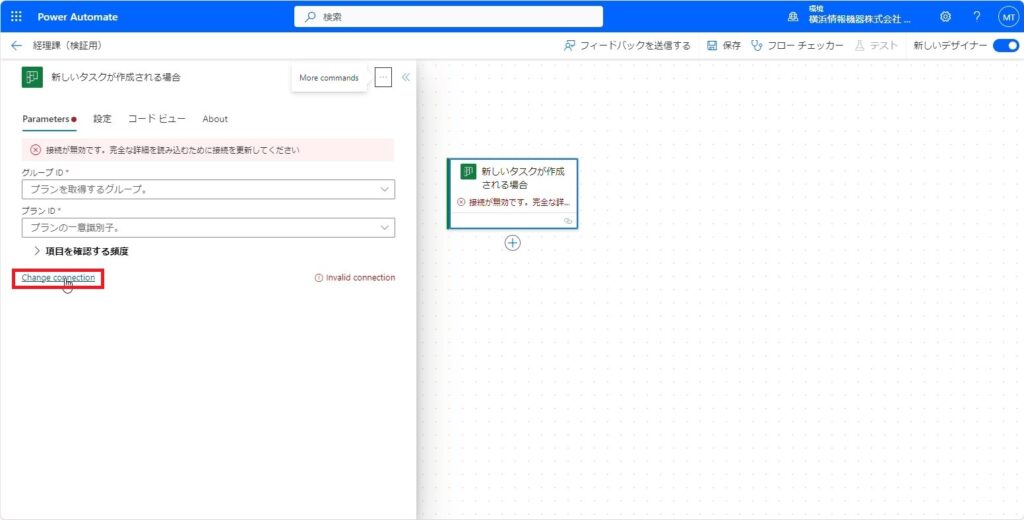
5-2.「Change connection」をクリックします。
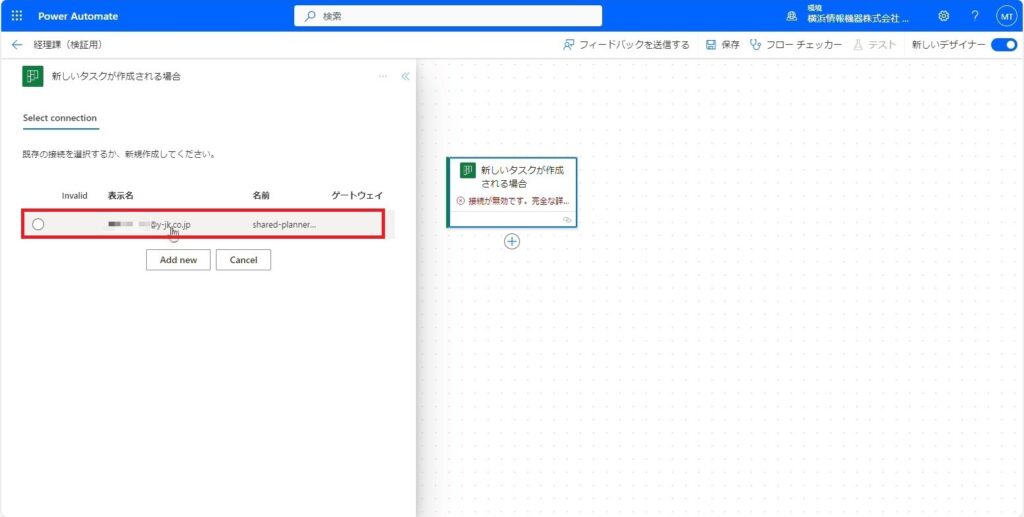
6.接続を確認し、アカウントを選択します。
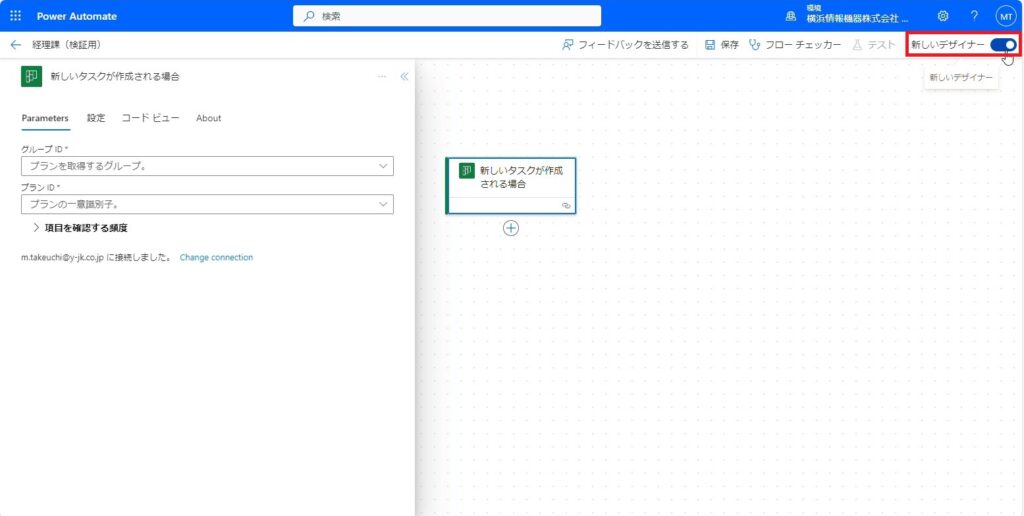
7.画面右上にある、「新しいデザイナー」のトグルボタンをクリックします。
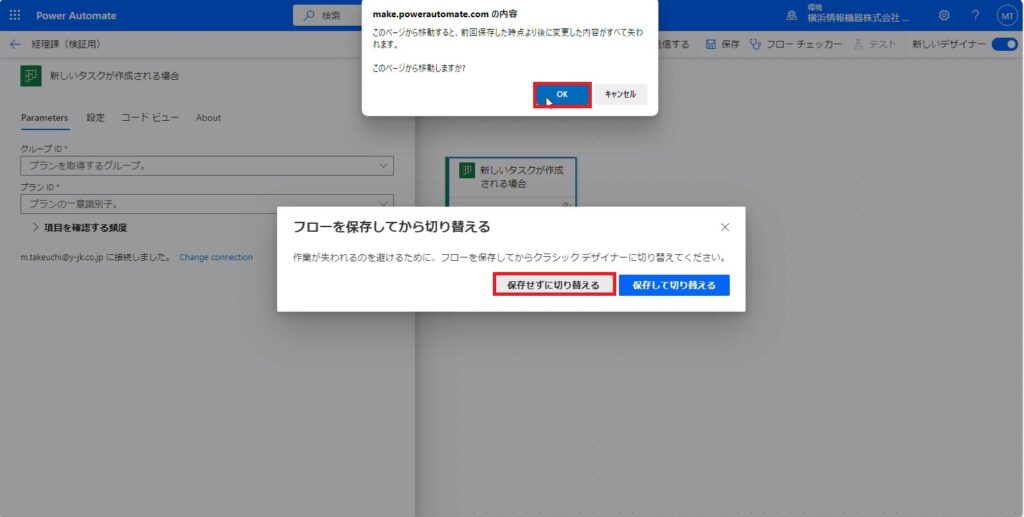
8.「保存せずに切り替える」をクリックし、「OK」をクリックします。
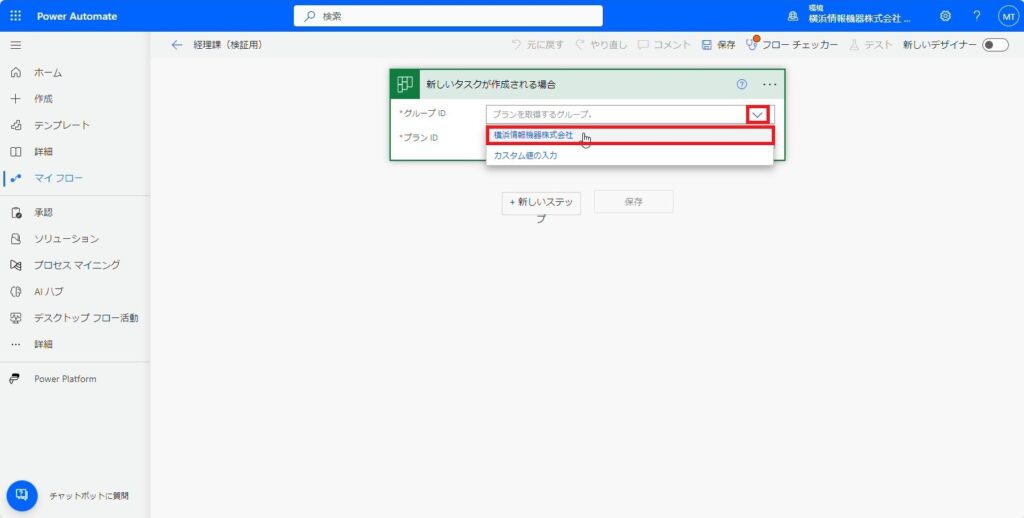
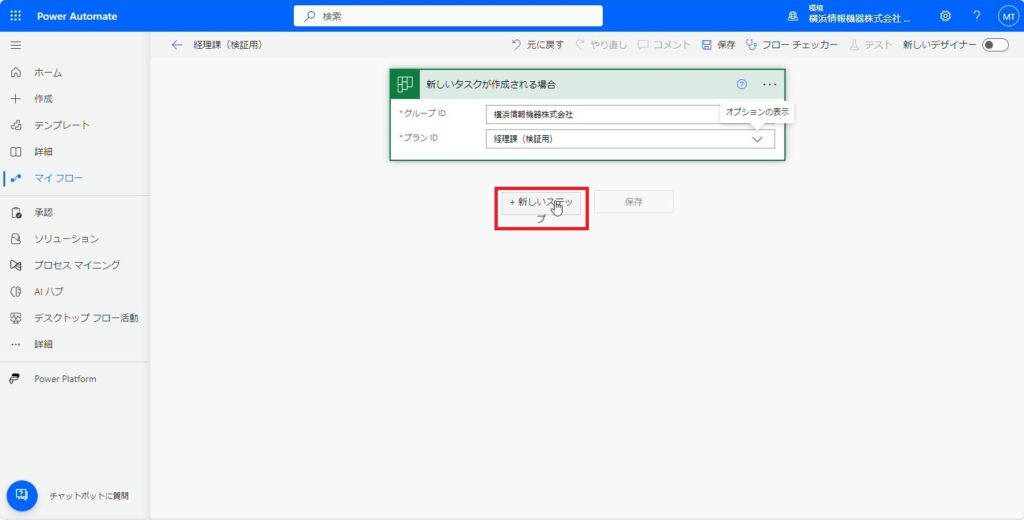
9.「グループID」のプルダウンから運用するプランのグループを選択します。
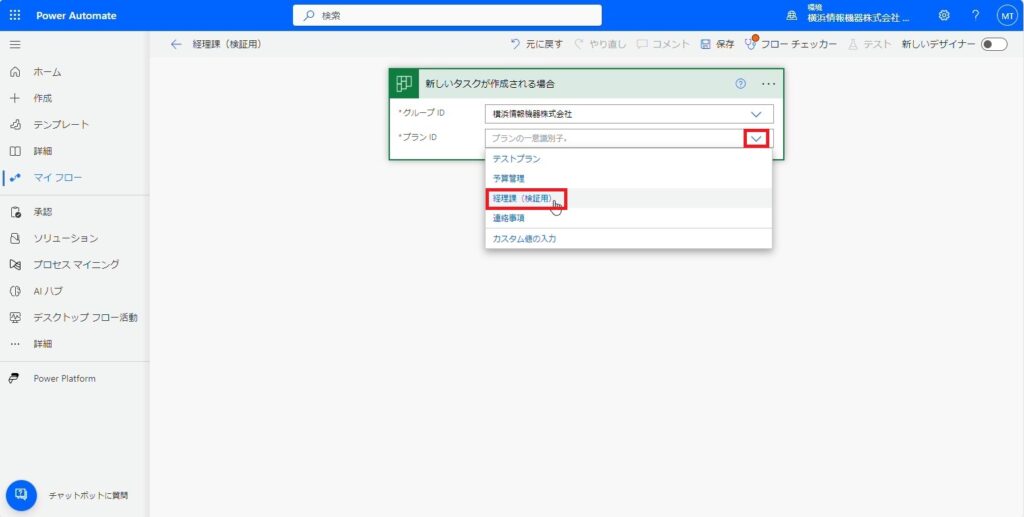
10.「プランID」のプルダウンから運用するプランを選択します。
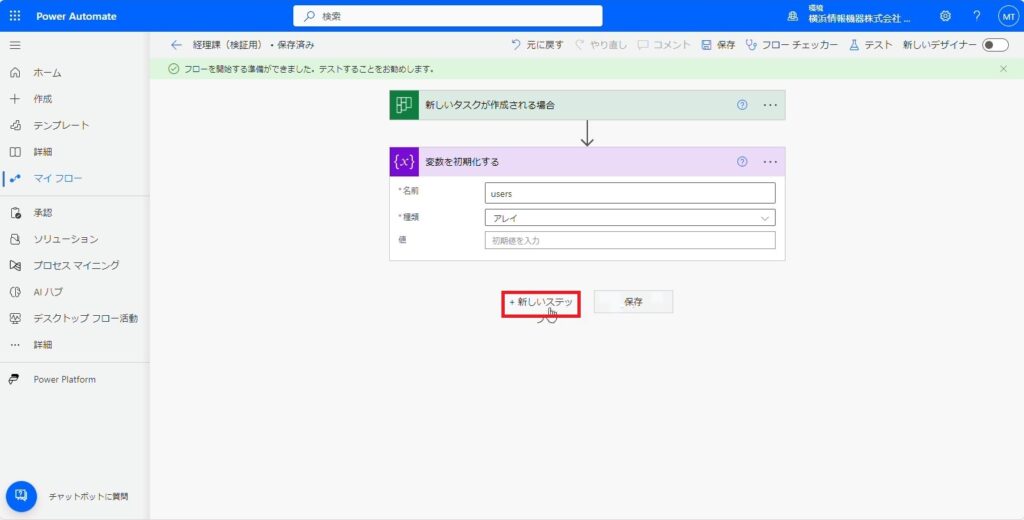
11.「新しいステップ」をクリックします。
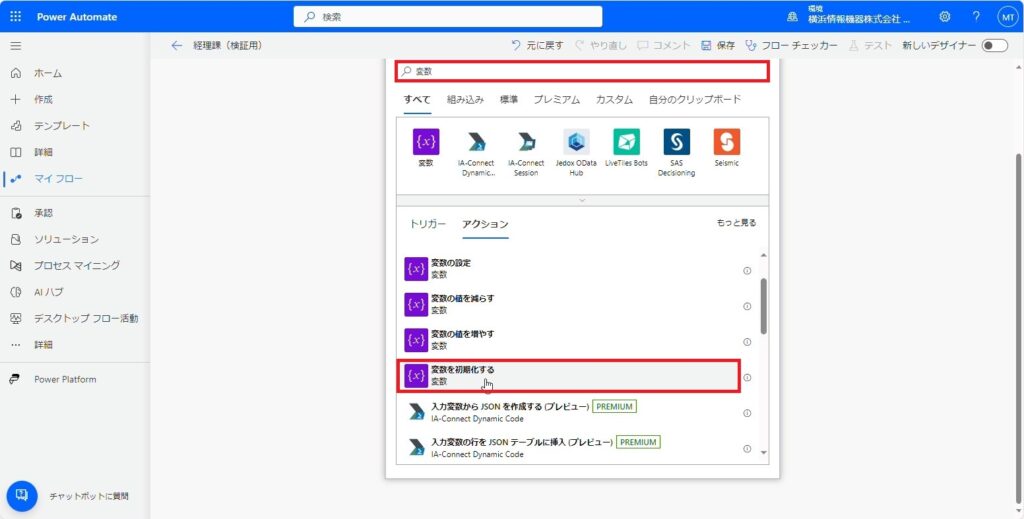
12.検索バーに「変数」と入力し、「変数を初期化する」をクリックします。)
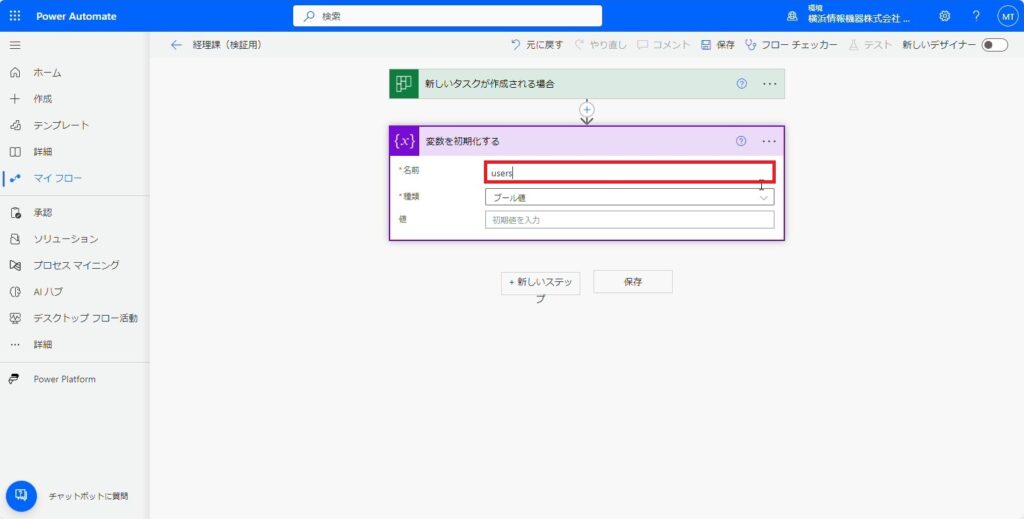
13.「名前」に任意の名前を入力します。
※ここでは「users」と入力します。
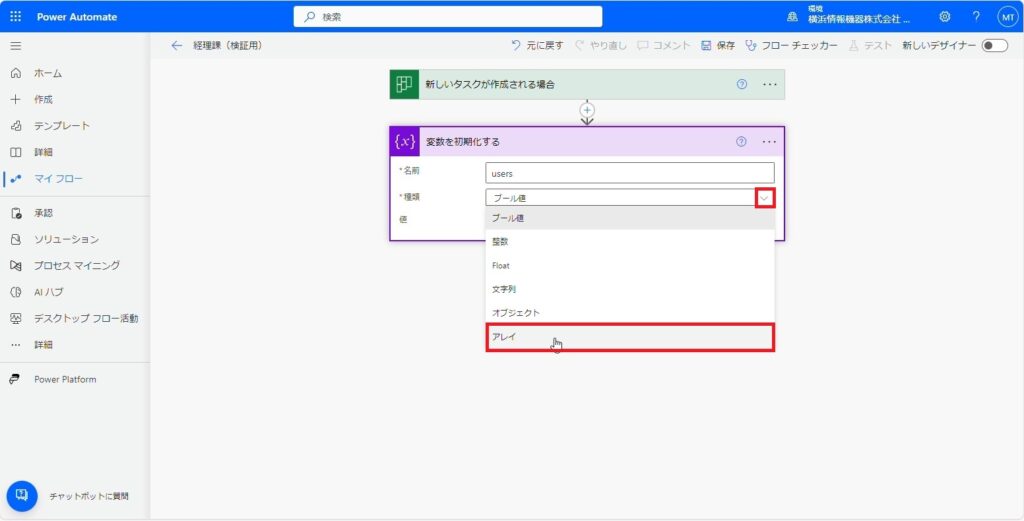
14.「種類」のプルダウンから「アレイ」を選択します。
15.ここで一度「保存」をクリックします。

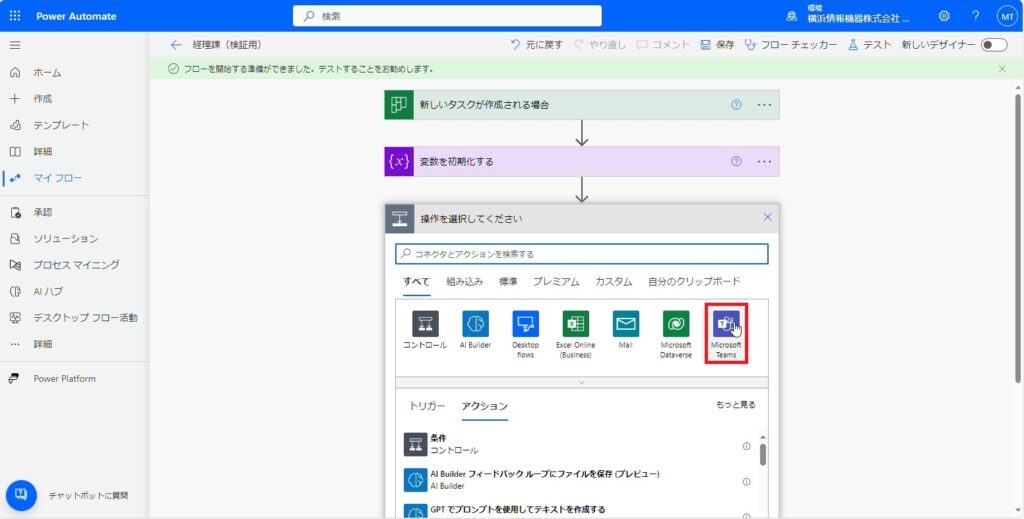
16.「新しいステップ」をクリックします。
17.「MicrosoftTeams」を選択します。
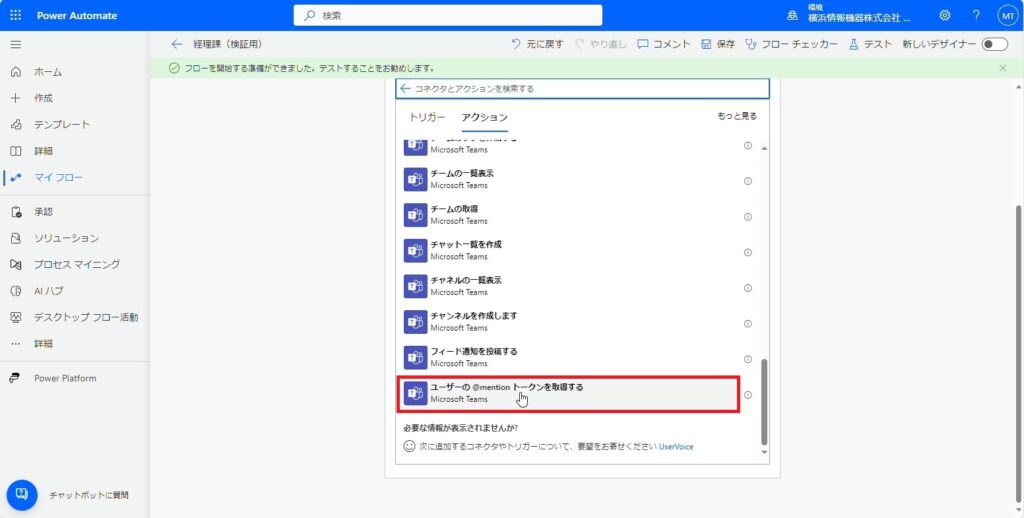
18.「ユーザーの@mentionトークンを取得する」をクリックします。
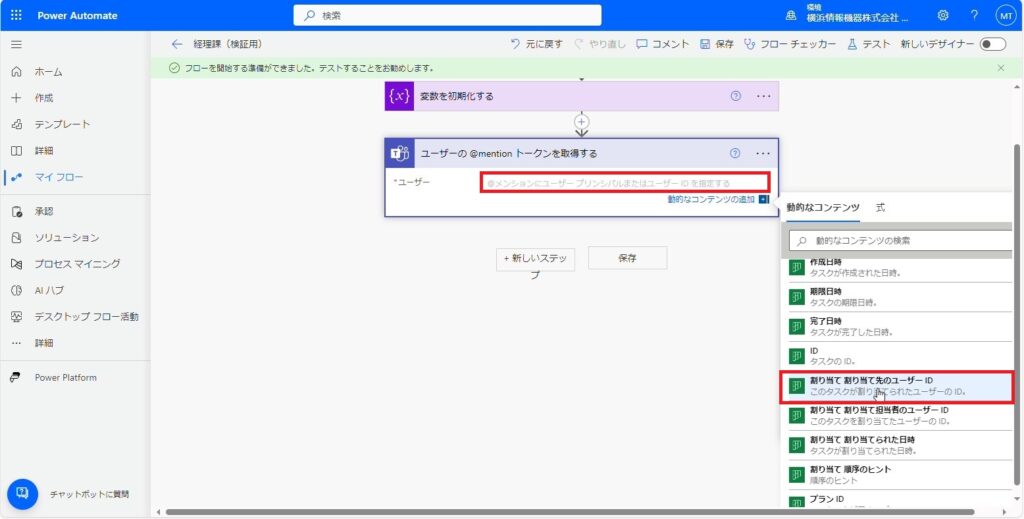
19.「ユーザー」の入力枠をクリックすると、右下に選択項目が出てきます。そこから「割り当て 割り当て先のユーザーのID」を選択します。
※右下の青字「動的なコンテンツ」の+マークからも表示可能です。
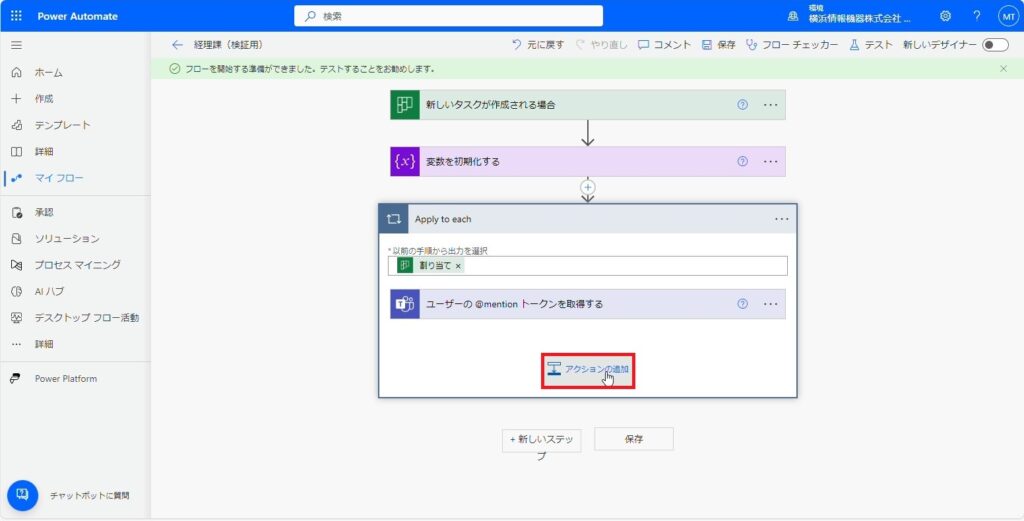
20.「アクションの追加」をクリックします。
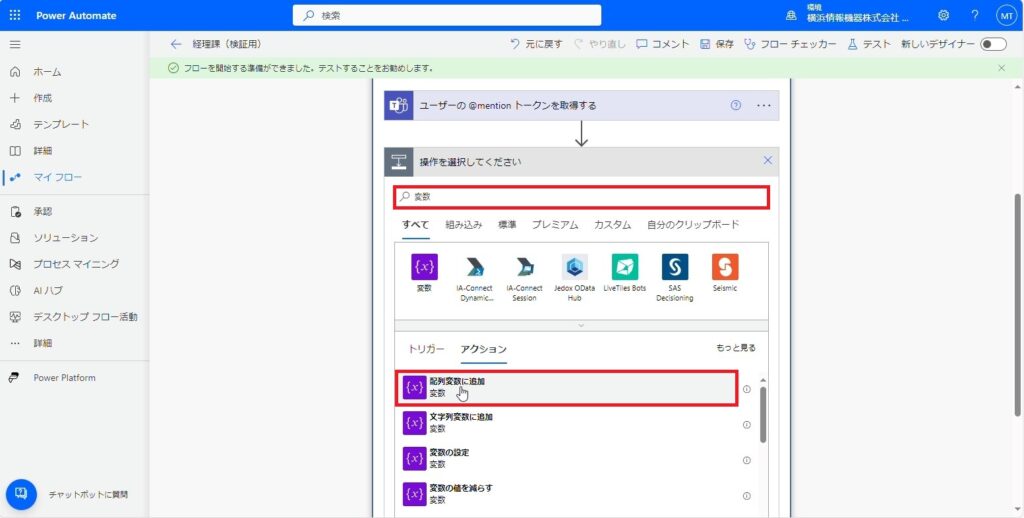
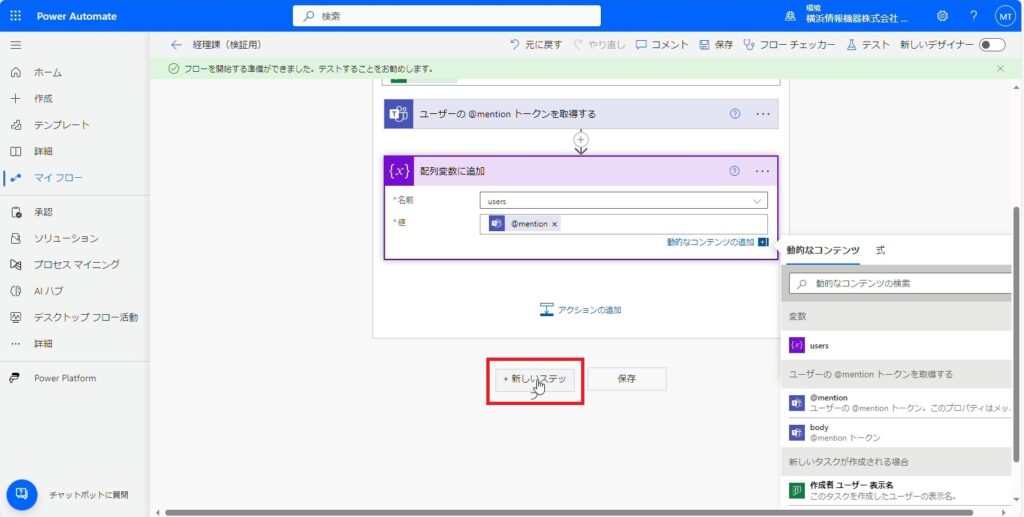
21.検索バーに「変数」と入力し、「配列変数に追加」をクリックします。
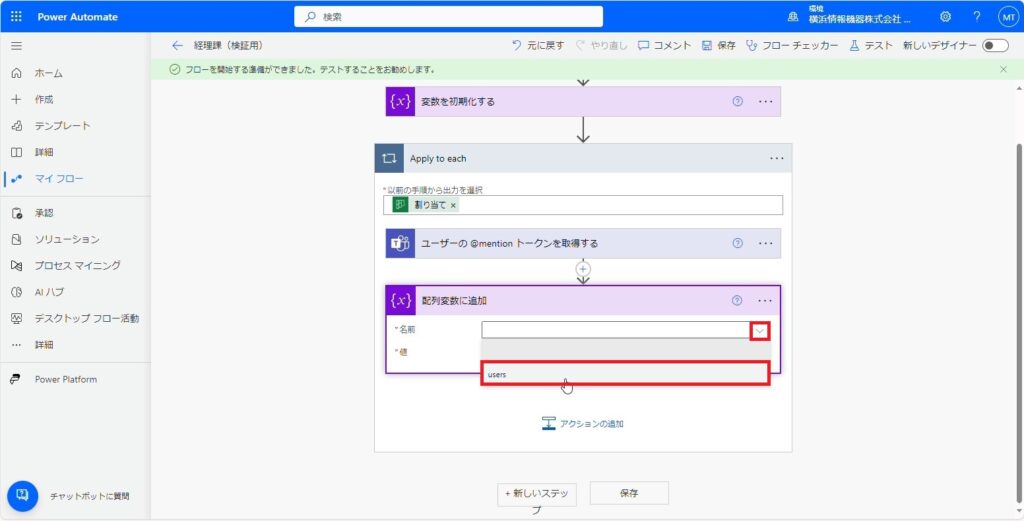
22.「名前」のプルダウンから、「users」をクリックします。
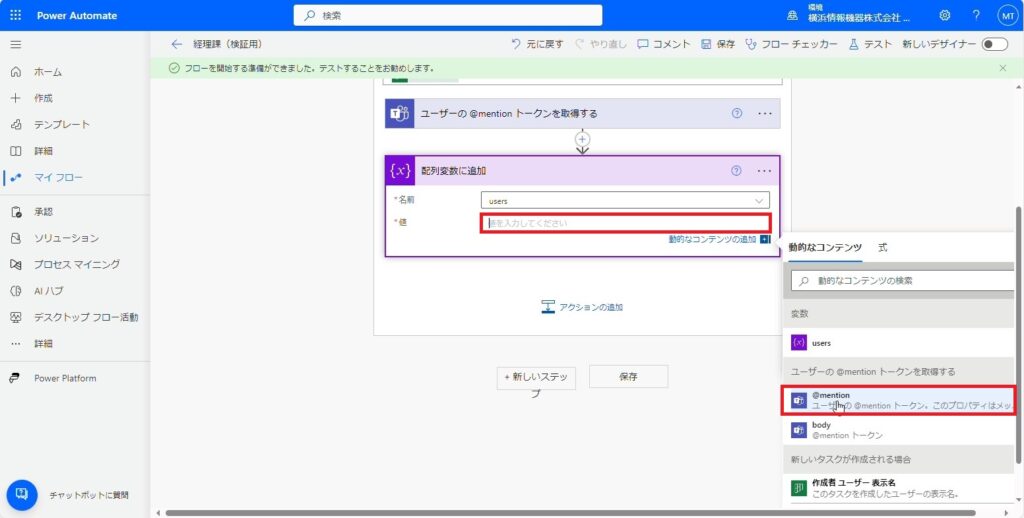
23.「値」の入力枠をクリックし、「@mention」を選択します。
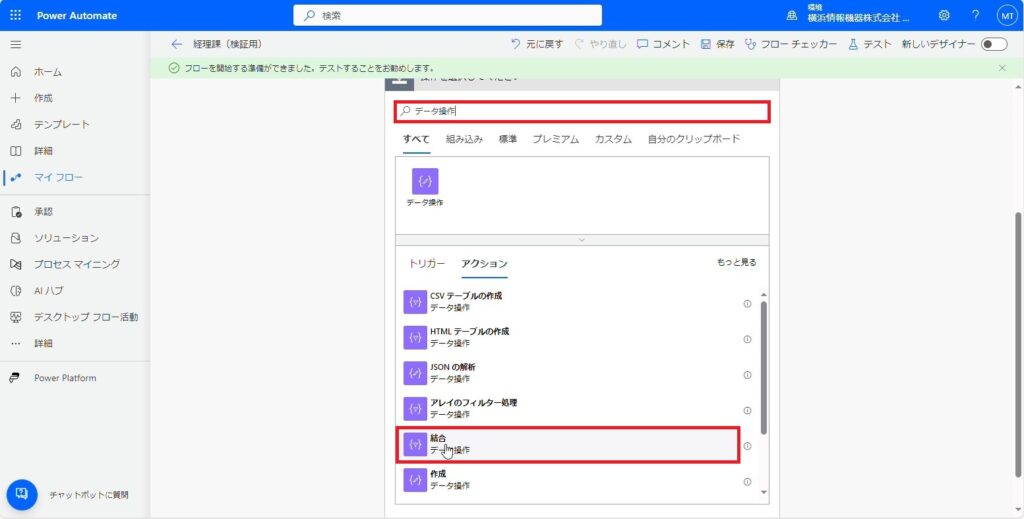
24.「新しいステップ」をクリックします。
25.検索バーに「データ操作」と入力し、「結合」をクリックします。
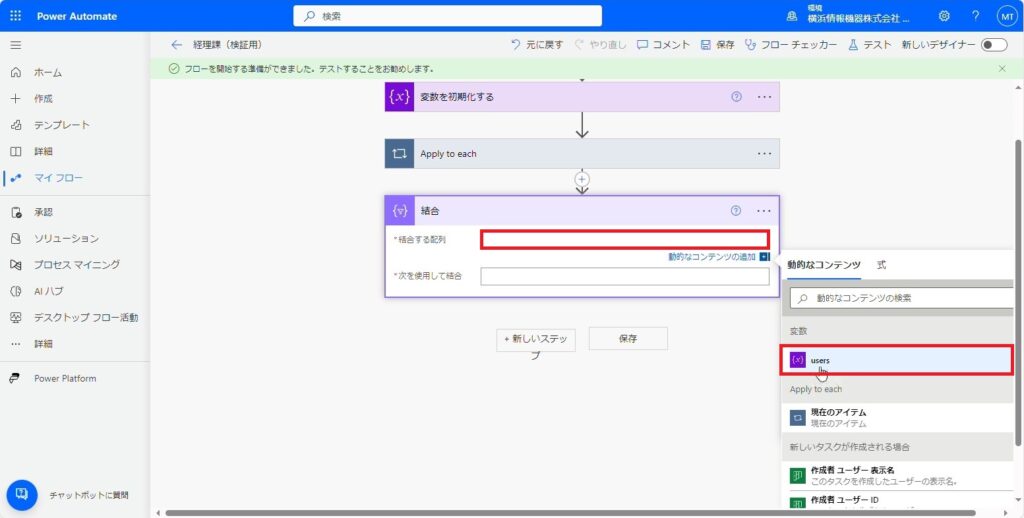
26.「結合する配列」の入力枠をクリックし、「users」を選択します。
27.「次を使用して結合」の入力枠に「,」(カンマ)を手入力します。
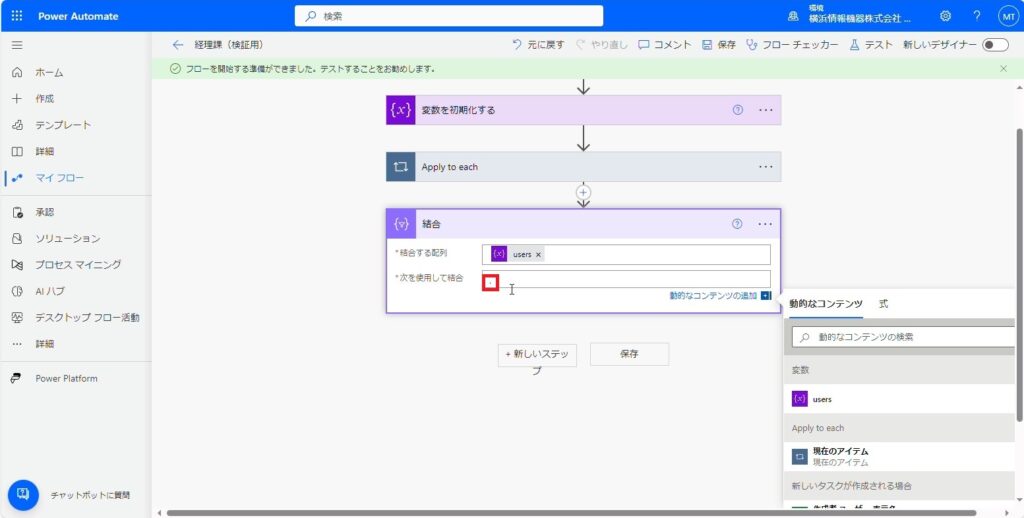
28.「新しいステップ」をクリックします。
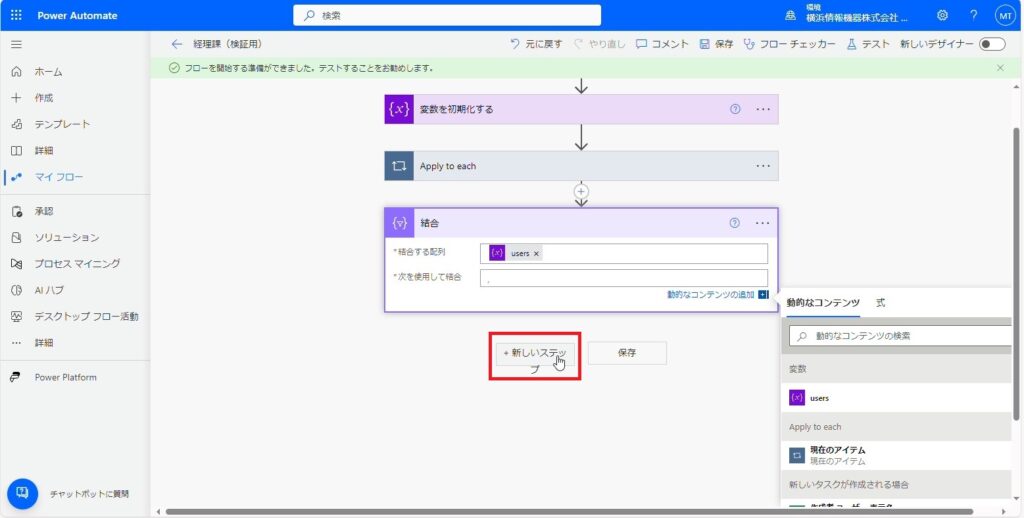
29.「MicrosoftTeams」を選択します。
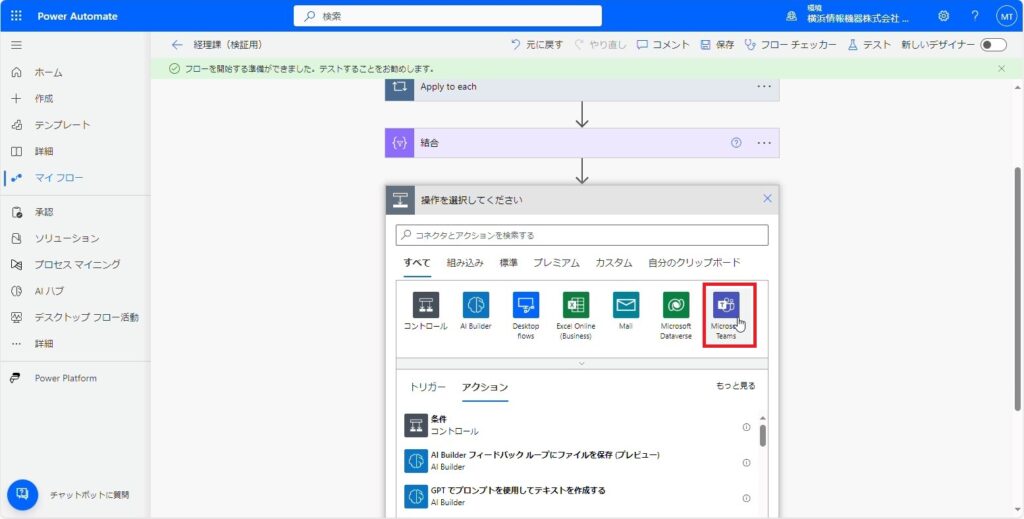
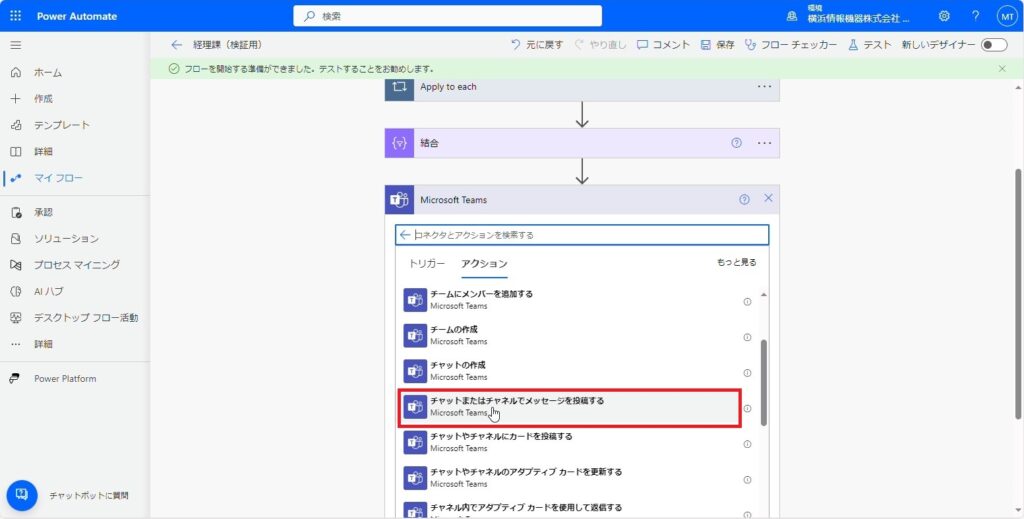
30.「チャットまたはチャネルでメッセージを投稿する」をクリックします。
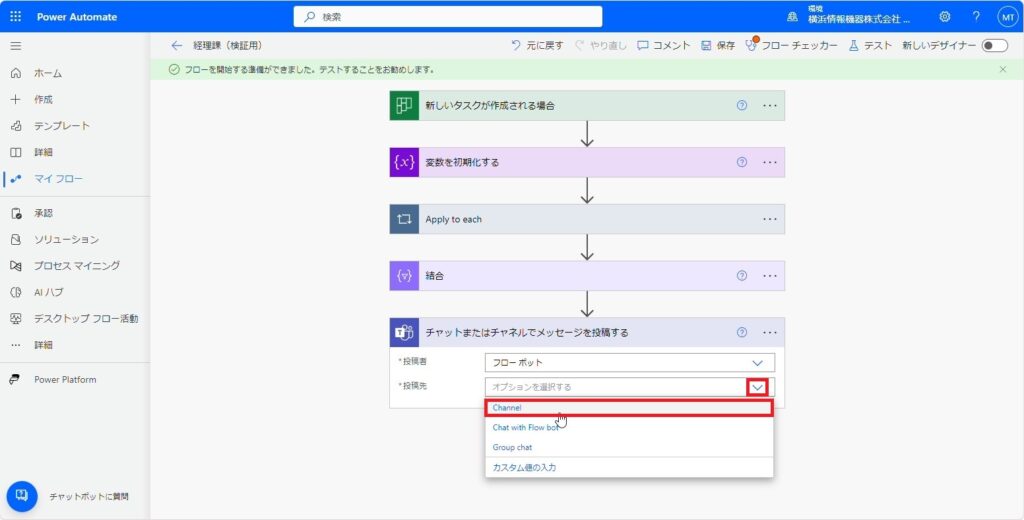
31.「投稿先」のプルダウンから「Channel」をクリックします。
※「投稿者」はデフォルトのフローボットから変更しません。
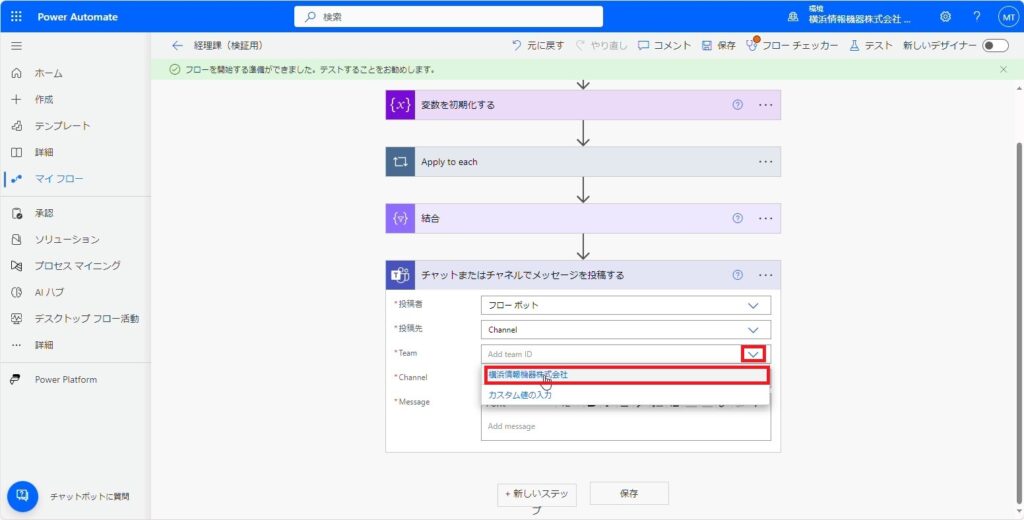
32.「Team」のプルダウンから、タスク割り当てを通知するTeamを選択します。
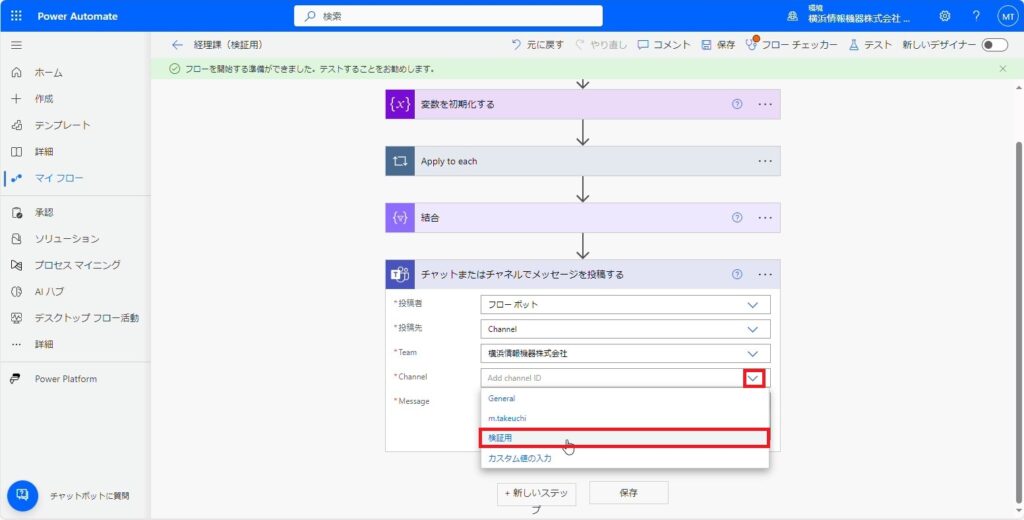
33.「Channel」のプルダウンから、タスク割り当てを通知するチャネルを選択します。
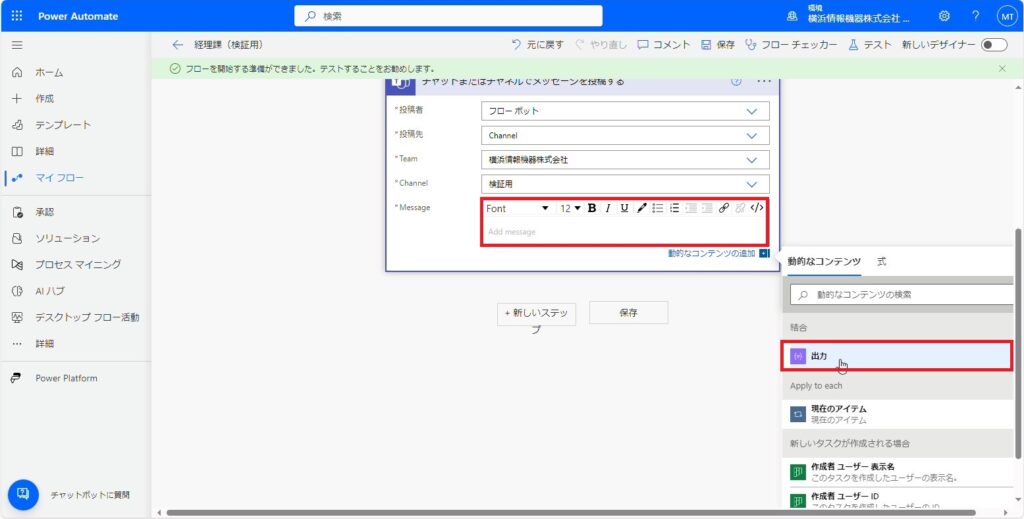
34.Teamsに通知される際の投稿形式を設定していきます。
34-1.「Message」の入力欄をクリックし、「出力」を選択します。
※本稿ではこの際、改行しています。
34-2.入力欄をクリックし、「タイトル」を選択します。
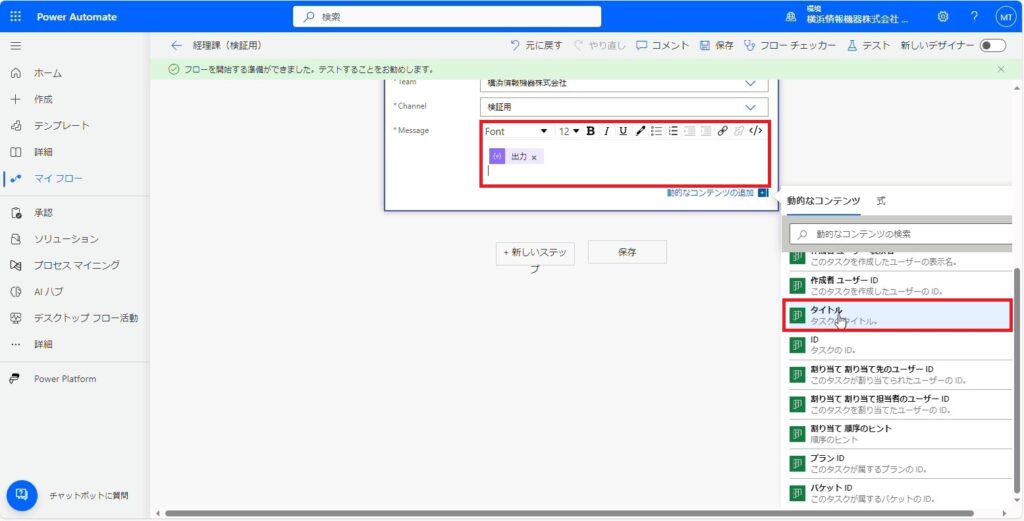
34-3.「タイトル」の前後に、通知の投稿がされる際の本文を任意で設定します。
※ここでは「新しいタスク[タイトル]が作成されました。ご確認ください。」と設定しています。

34-4.通知からタスクをすぐに確認できるようにするため、ハイパーリンクを作成します。「リンク挿入ボタン」をクリックします。
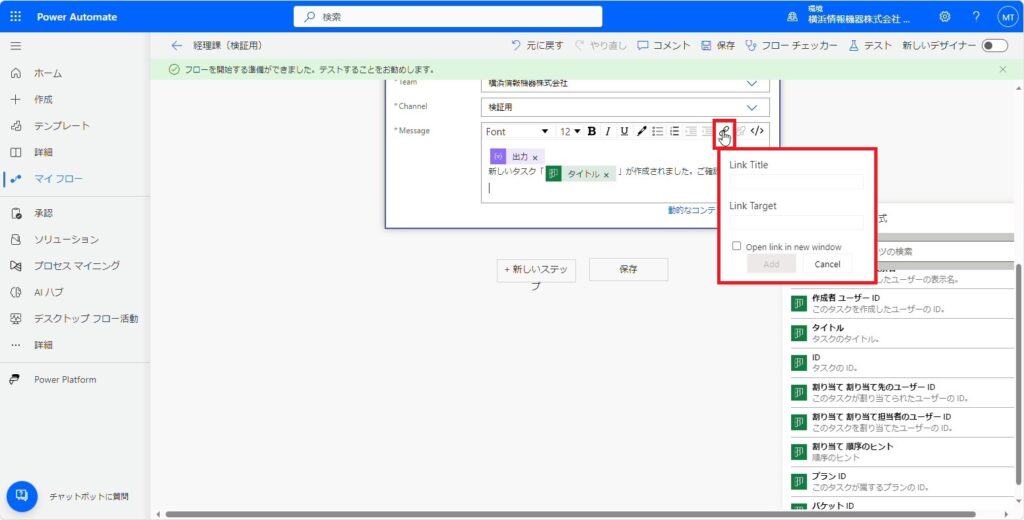
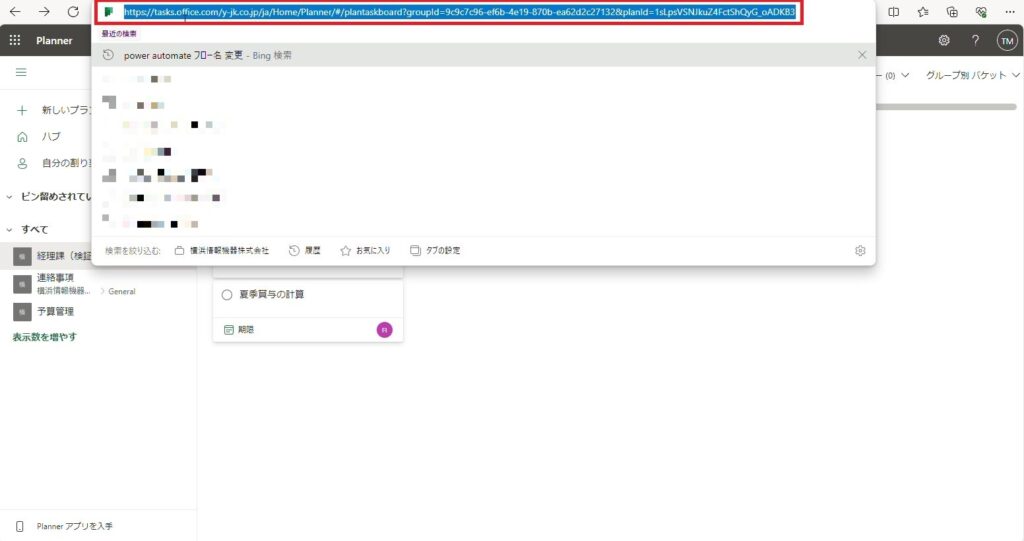
34-5.Plannerを開き、運用するプランのURLをコピーします。
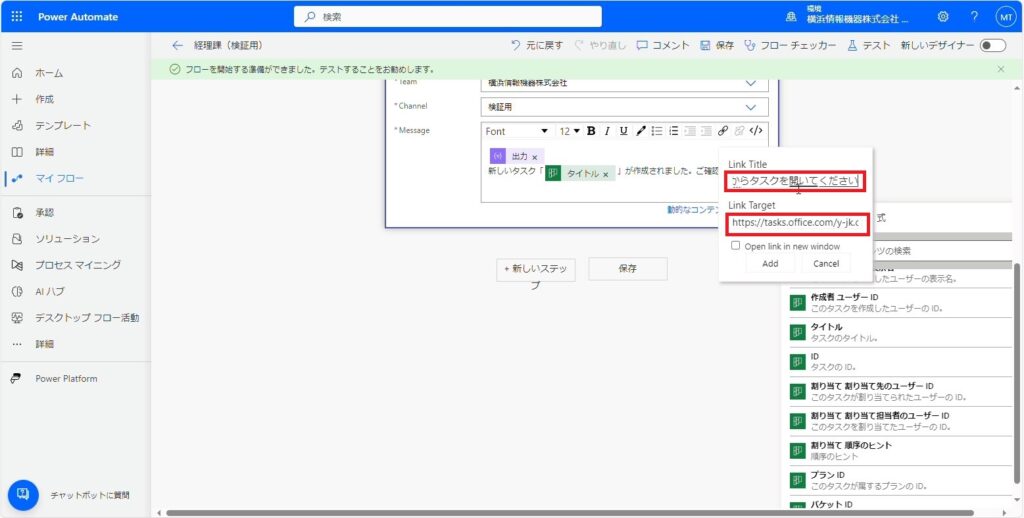
34-6.「Link Title」に任意の名前を入力し、「Link Target」に先ほどコピーしたURLを貼り付けます。
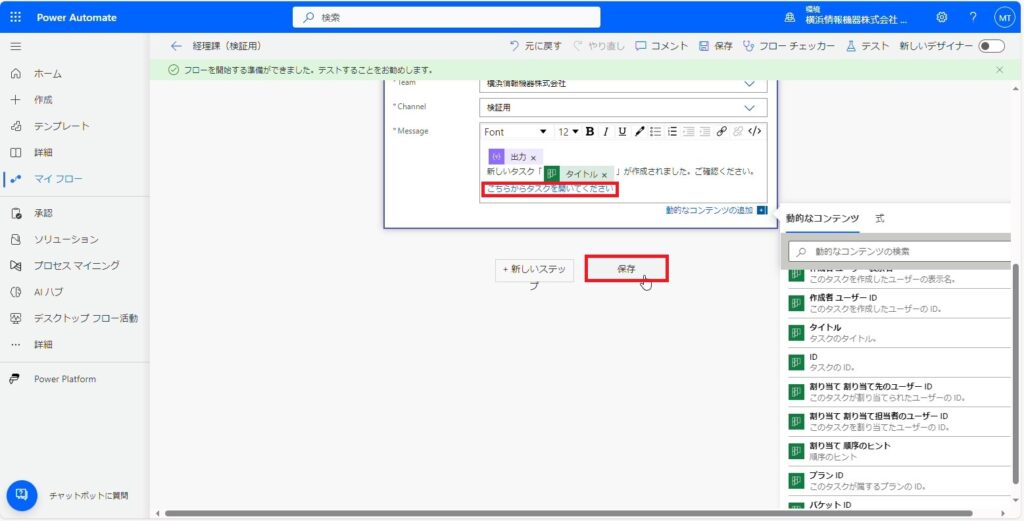
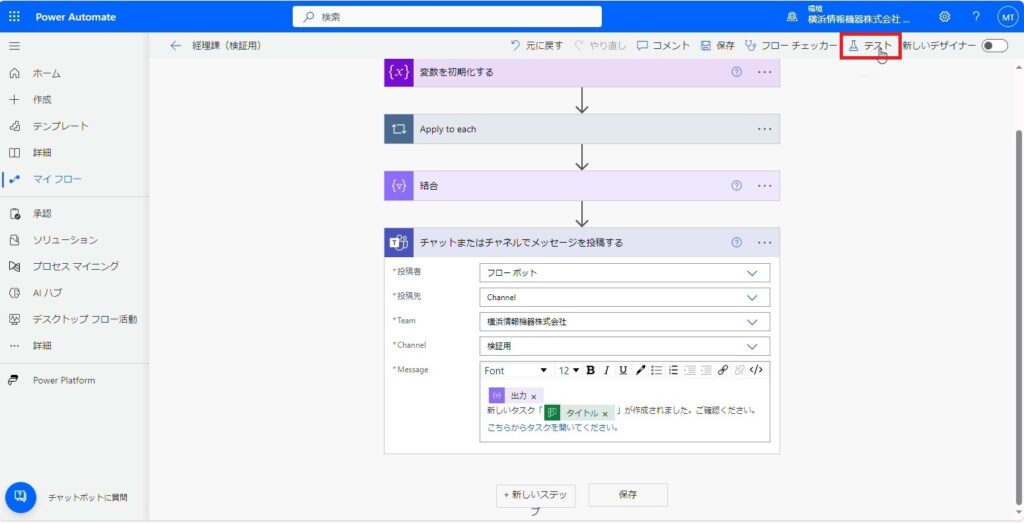
35.ハイパーリンクが作成されたことを確認し、保存をクリックします。
手順3 テストを実施し反映を確認
1.右上の「テスト」をクリックします。
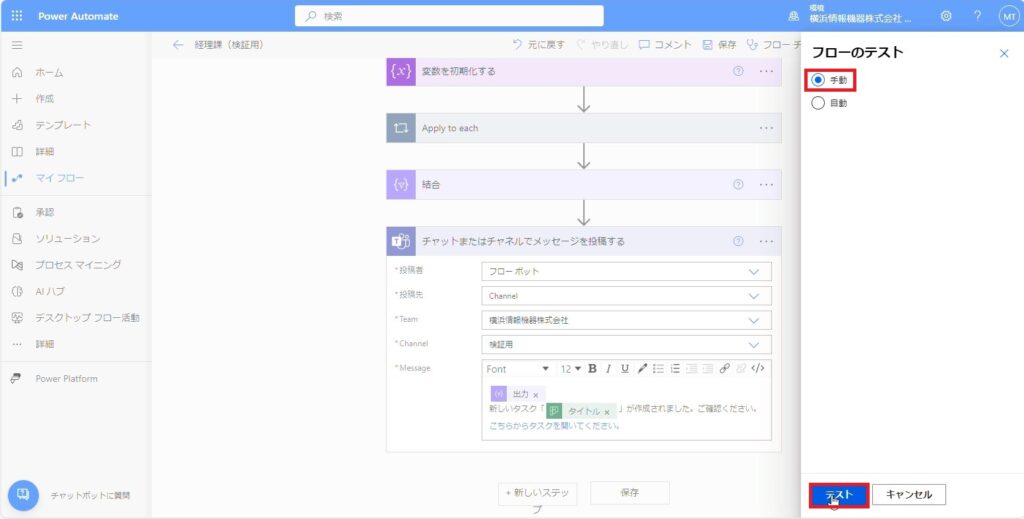
2.「手動」をクリックし、「テスト」をクリックします。
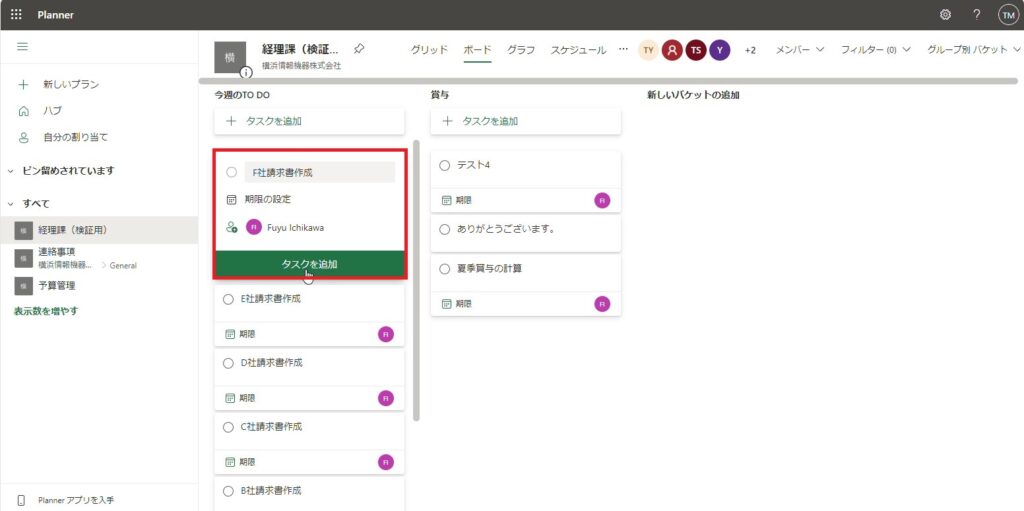
3.実際にPlannerでタスクを追加します。
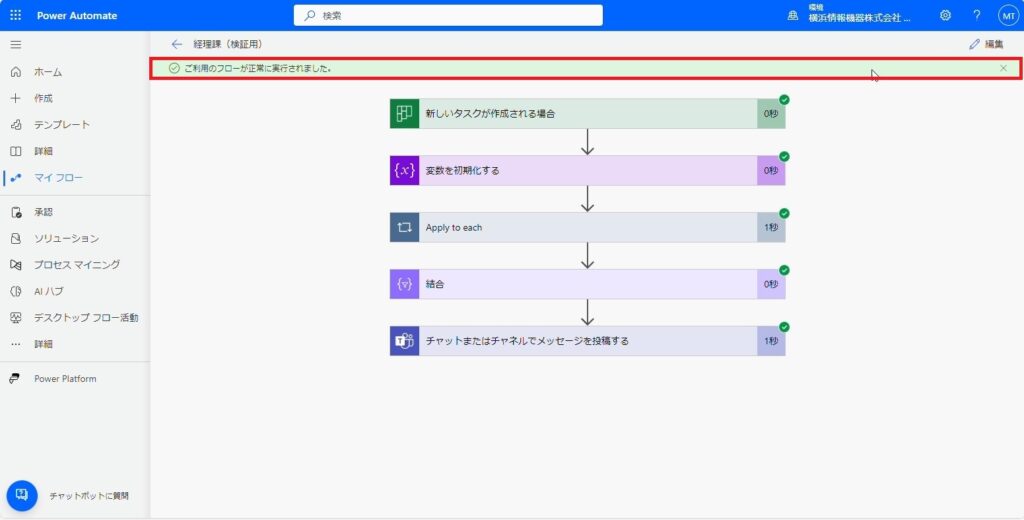
4.フローが正常に実行されていることを確認します。
5.Teamsの投稿画面で、タスクを割り当てられた担当者が、自動メンションされていることを確認できました。

6.ハイパーリンクの動作確認を行うため、設定したハイパーリンクをクリックします。

7.Plannerに飛ぶことができました。