こんにちは!小林です!
企業や教育機関で使用されるデバイスの管理は、IT管理者にとって大きな課題です。特に、ブラウザのセキュリティ更新を確実に行うことは、サイバーセキュリティの観点から非常に重要です。
この記事では、Microsoft Intuneを使用して、Zoomを自動更新する方法について解説します。これにより、IT管理者は手動での更新作業から解放され、セキュリティリスクを最小限に抑えることができます。具体的な設定手順や注意点を含めて、初心者でも簡単に実践できるように説明していきますので、ぜひ最後までご覧ください。
目次
1.スクリプトの作成
今回はスクリプトを使いMicrosoft Intuneでアプリを配布する設定を行います。この記事で追加するアプリはZoomになります。
※使用するスクリプトは指定されたアプリをインストールまたはアンインストールするためのPowerShellスクリプトです。
1.スクリプトの保存
メモ帳を開き下記スクリプトをコピー&ペーストします。
スクリプトの解説につきましては、5.スクリプトの解説をご覧ください。

param(

  [string]$appName = "",

  [string]$downloadUrl = "",

  [switch]$remove = $false,

  [switch]$debugMode = $false

)


if (!$debugMode){

  $ProgressPreference = "SilentlyContinue"

}


if ($appName -eq "") {

  exit 1

}


#アンインストール処理

if ($remove)

{

  $productId32 = (Get-ChildItem -Path "Registry::HKLM\SOFTWARE\Microsoft\Windows\CurrentVersion\Uninstall" | Get-ItemProperty | Where-Object DisplayName -eq $appName | Select-Object -ExpandProperty PSChildName)

  $productId64 = (Get-ChildItem -Path "Registry::HKLM\SOFTWARE\WOW6432Node\Microsoft\Windows\CurrentVersion\Uninstall" | Get-ItemProperty | Where-Object DisplayName -eq $appName | Select-Object -ExpandProperty PSChildName)


  if ($productId32 -eq "" -and $productId64 -eq ""){

    exit 1

  }


  $productId = ""

  if (!($productId32 -ne "" -or $productId64 -ne "")){

    $productId = $productId64

  }else{

    $productId = (echo $productId32$productId64)

  }


  Start-Process -NoNewWindow -PassThru -Wait -FilePath "msiexec" -ArgumentList "/x", $productId, "/qn"


  Start-Sleep -Seconds 30


  exit 0

}


if ($downloadUrl -eq "") {

  exit 1

}


$appLabel = $appName.replace(" ","")

$installerFile = "$appLabel.msi"


Invoke-WebRequest -UseBasicParsing -Uri $downloadUrl -OutFile $installerFile


Start-Process -NoNewWindow -PassThru -Wait -FilePath "msiexec" -ArgumentList "/i", $installerFile, "/qn"


Start-Sleep -Seconds 30


exit 0
2.「ファイル」をクリックし、「名前を付けて保存」をクリックします。
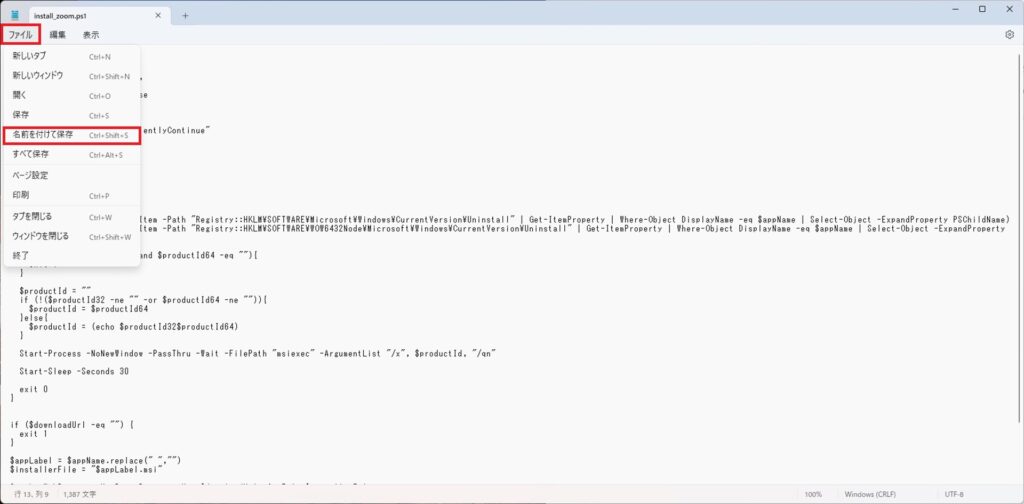
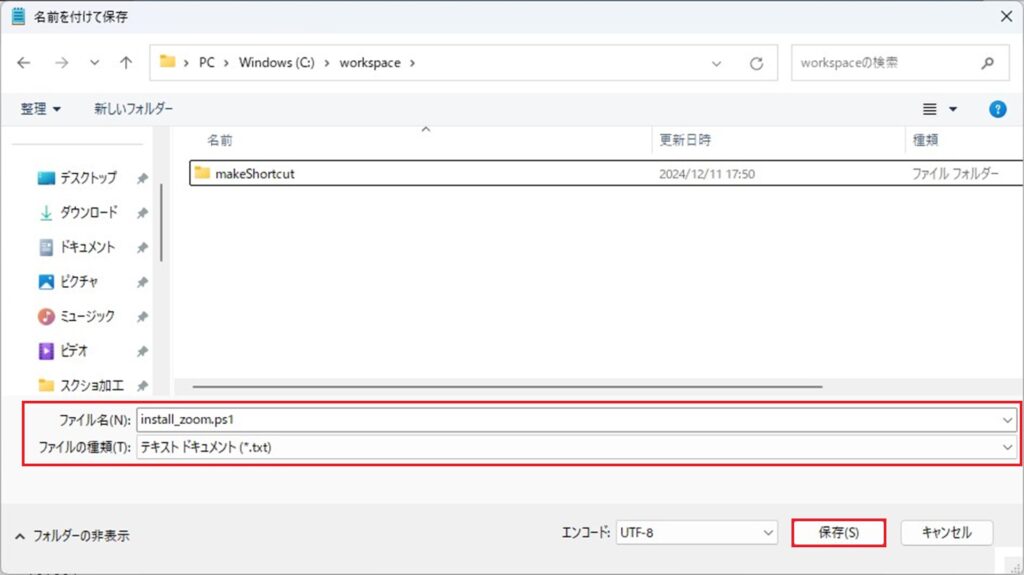
3.下記のように保存します。
—————————————ーーーーーーーーーーーーーーーーーーーー
保存先:任意
ファイル名:任意(ここでは「install_zoom.ps1」と入力します。)
ファイルの種類:任意(ここでは「テキスト ドキュメント」と指定します。)
———————————ーーーーーーーーーーーーーーーーーーーーーー
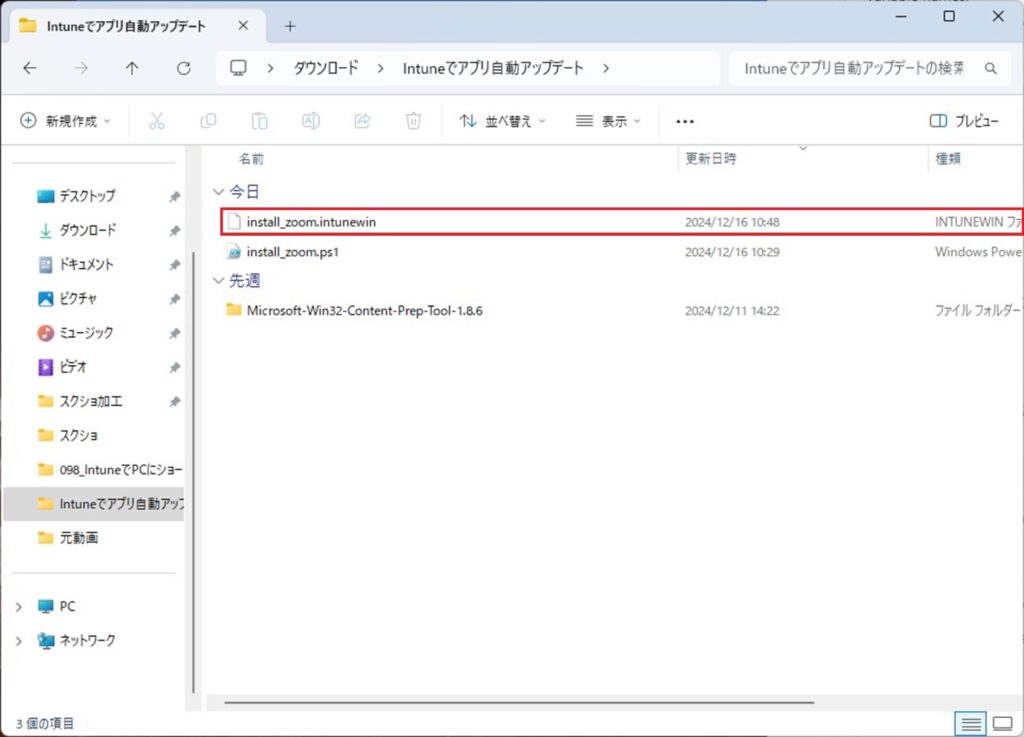
4.保存したファイルの形式を.intunewin形式に変換します。
変換方法は下記ブログをご参照ください。
・Microsoft Intuneでアプリをリモートインストールする方法 その1 exeバージョン | yjk365
5. intunewin形式に変換できました。
2.スクリプト配布
Microsoft Intuneを使い、インストールしたいアプリを追加します。
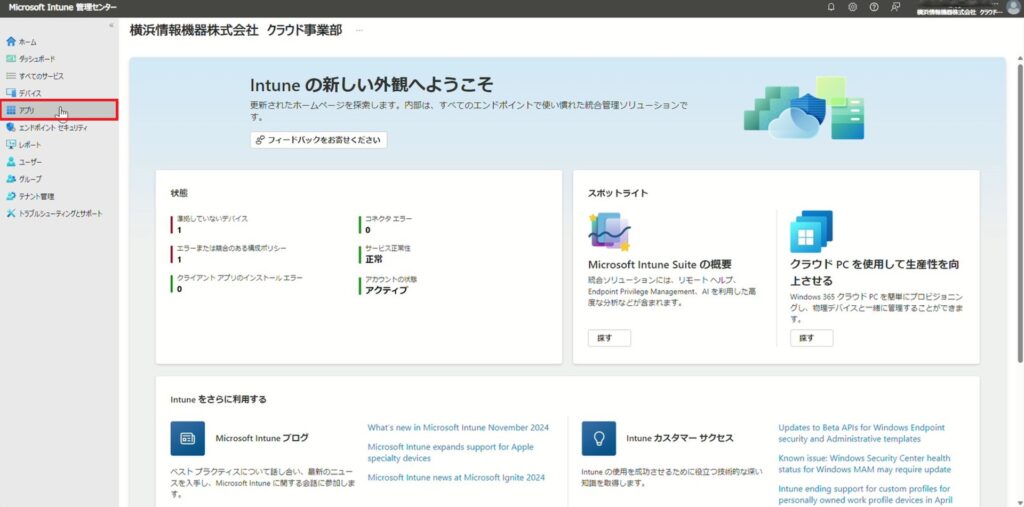
1.Microsoft Intune 管理センターを開き、「アプリ」をクリックします。
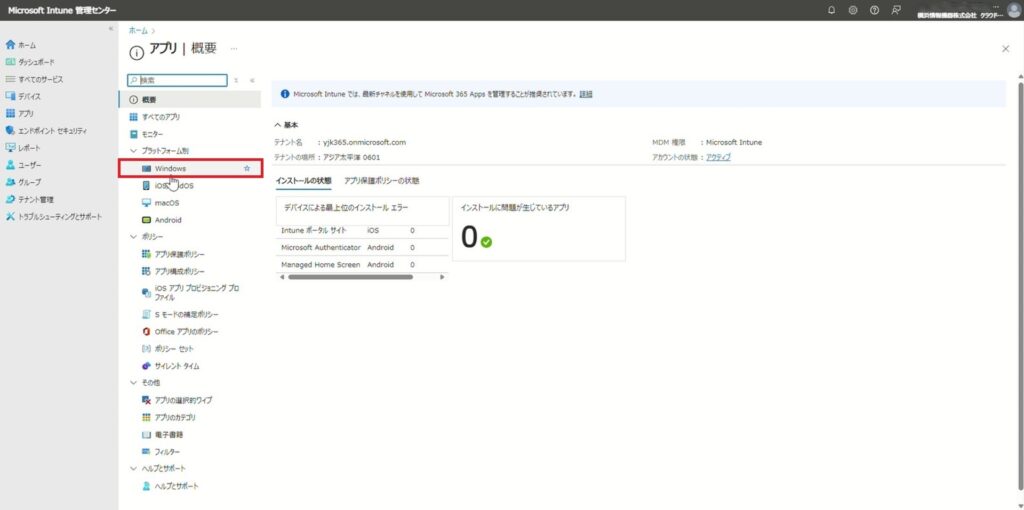
2.「Windows」をクリックします。
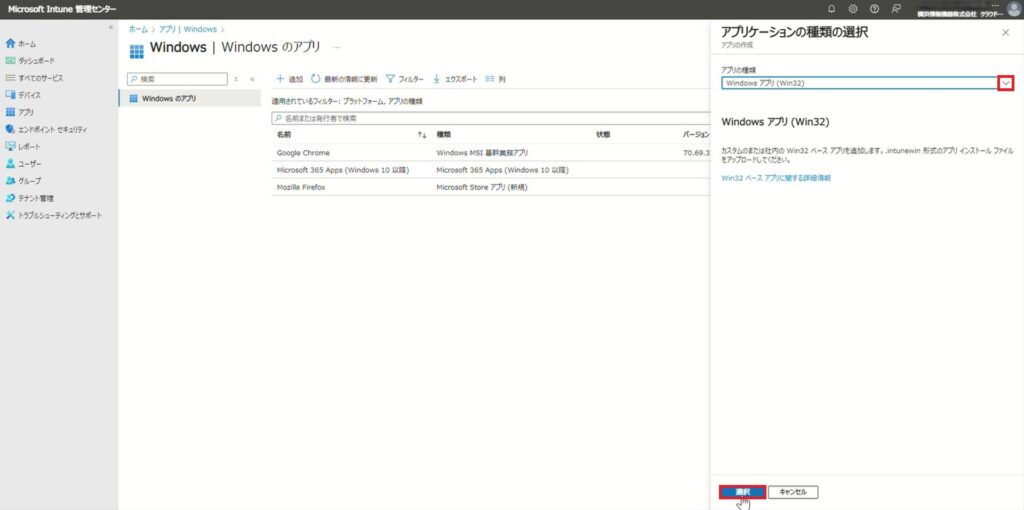
3.「追加」をクリックします。

4.「アプリの種類」のプルダウンより「Windows アプリ(Win 32)」を選択し、「選択」をクリックします。
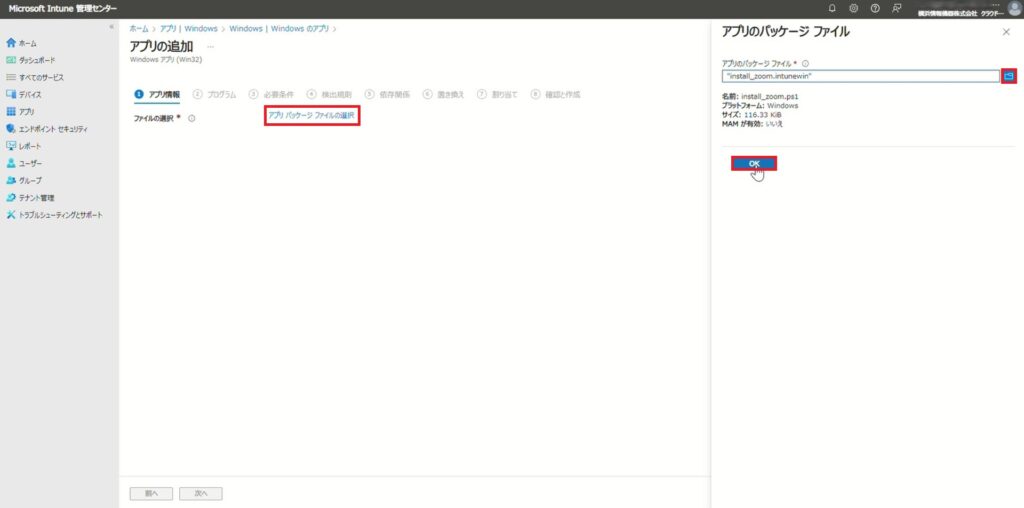
5.「アプリ パッケージ ファイルの選択」をクリックし、「アプリのパッケージ ファイル」より、1.スクリプトを作成で保存したファイルを選択し、「OK」をクリックします。
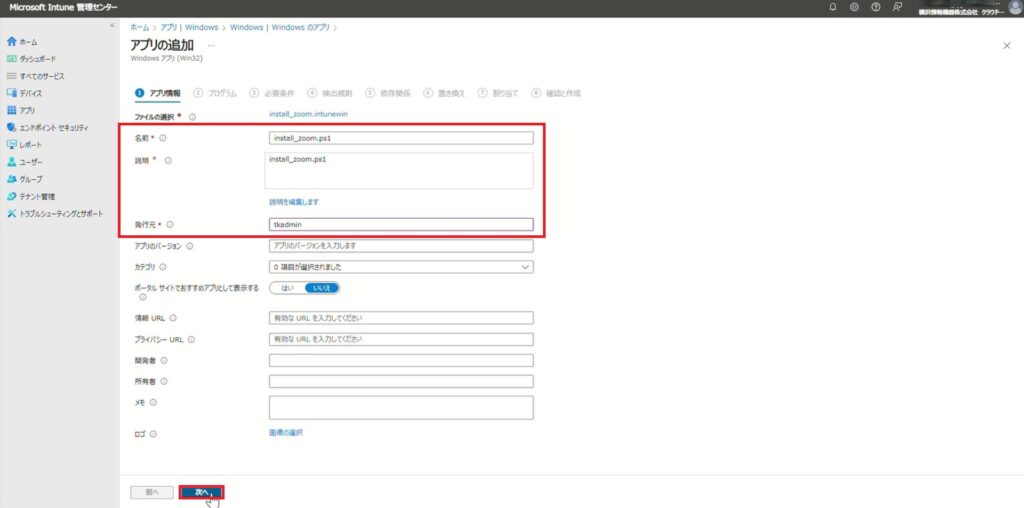
6.下記のように設定し、「次へ」をクリックします。
—————————————ーーーーーーーーーーーーーーーーーーーーー
名前:任意(ここでは「install_zoom.ps1」と入力します。)
説明:任意(ここでは「install_zoom.ps1」と入力します。)
発行先:任意(ここでは「tkadmin」と入力します。)
—————————————ーーーーーーーーーーーーーーーーーーーーー
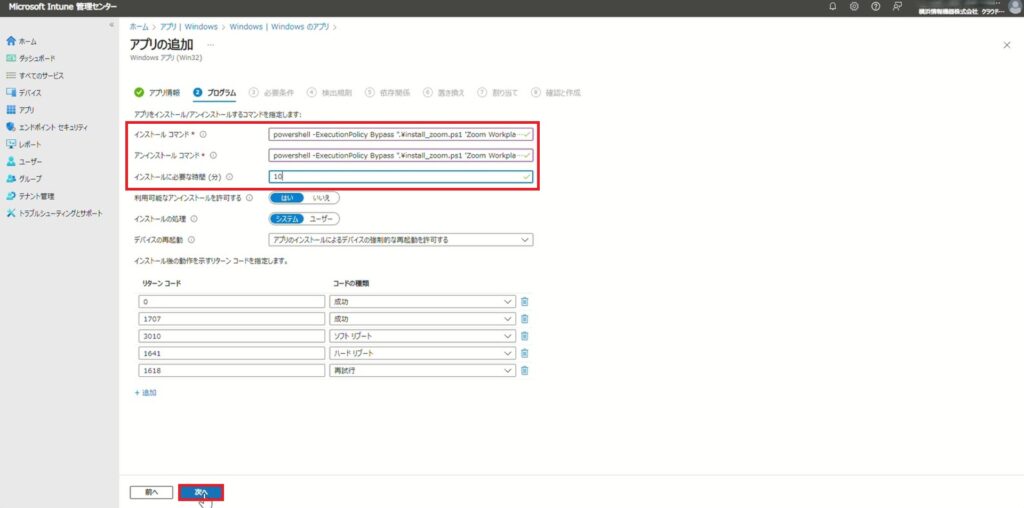
7.下記のように設定し、「次へ」をクリックします。
※コマンドを入力する理由につきましては4.課題点で詳しく解説しています。
—————————————ーーーーーーーーーーーーーーーーーーーーー
名前:任意
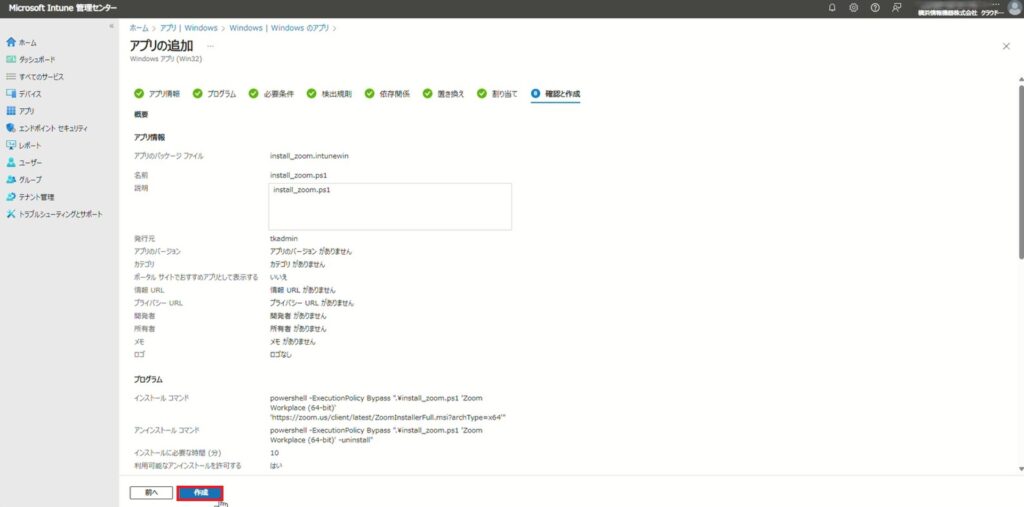
インストール コマンド:
powershell -ExecutionPolicy Bypass “.\install_zoom.ps1 ‘Zoom Workplace (64-bit)’ ‘https://zoom.us/client/latest/ZoomInstallerFull.msi?archType=x64′”
アンインストール コマンド:
powershell -ExecutionPolicy Bypass “.\install_zoom.ps1 ‘Zoom Workplace (64-bit)’ -uninstall”
インストールに必要な時間(分):10
—————————————ーーーーーーーーーーーーーーーーーーーーー
8.下記のように設定し、「次へ」をクリックします。
—————————————ーーーーーーーーーーーーーーーーーーーーー
名前:任意
オペレーティング システムのアーキテクチャ:任意(ここでは「64 ビット」と入力します。)
最小なオペレーティング システム:任意(ここでは「Windows 10 1607」と入力します。)
—————————————ーーーーーーーーーーーーーーーーーーーーー

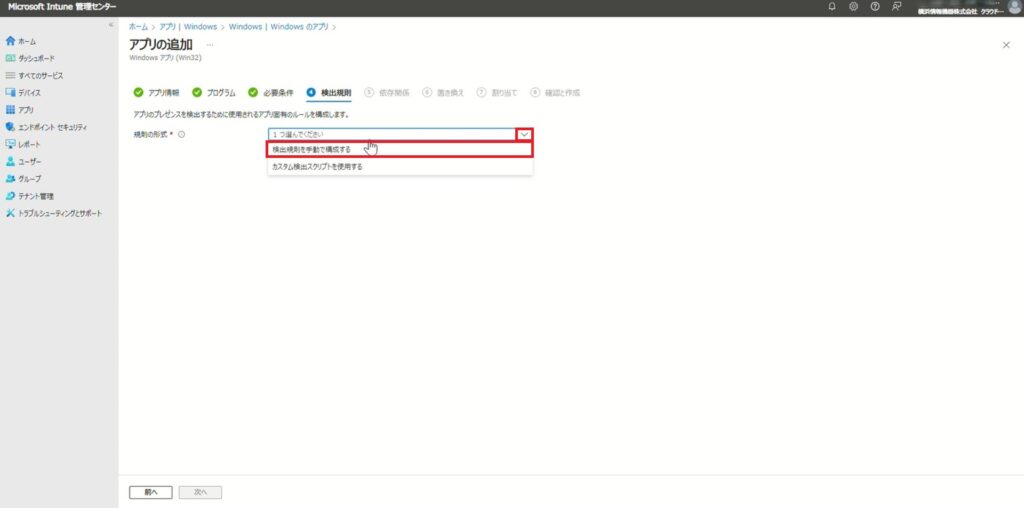
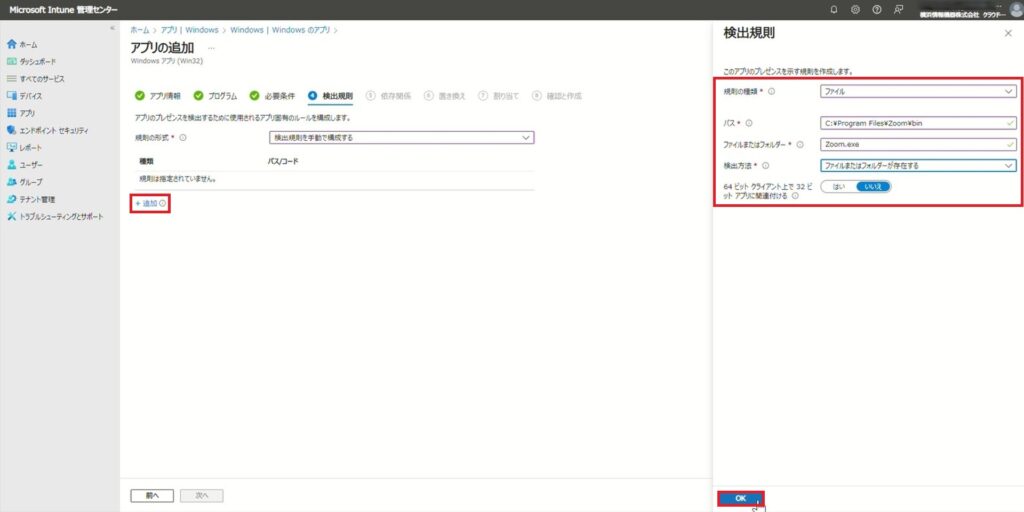
9.「規則の形式」のプルダウンより、「検出規則を手動で構成する」を選択します。
10.「追加」をクリックし、「検出規則」を下記のように設定し、「OK」をクリックします。
—————————————ーーーーーーーーーーーーーーーーーーーーー
規則の種類:ファイル
パス: C:\Program Files\Zoom\bin
ファイルまたはフォルダー: Zoom.exe
—————————————ーーーーーーーーーーーーーーーーーーーーー
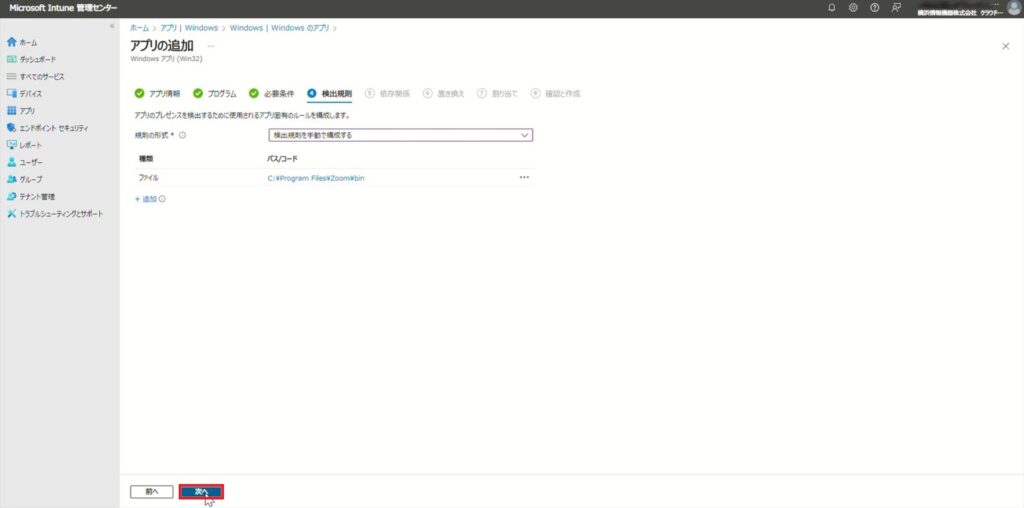
11.「次へ」をクリックします。
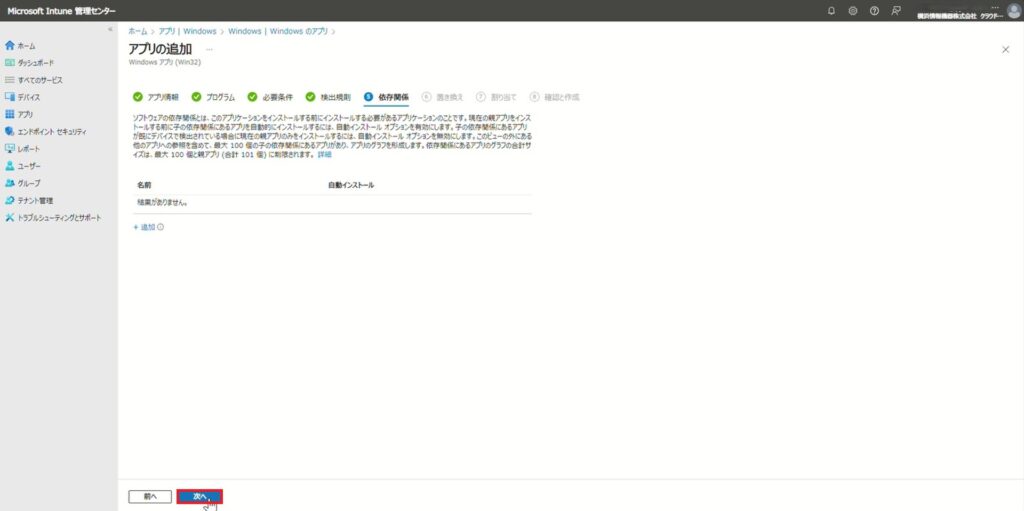
12.「次へ」をクリックします。
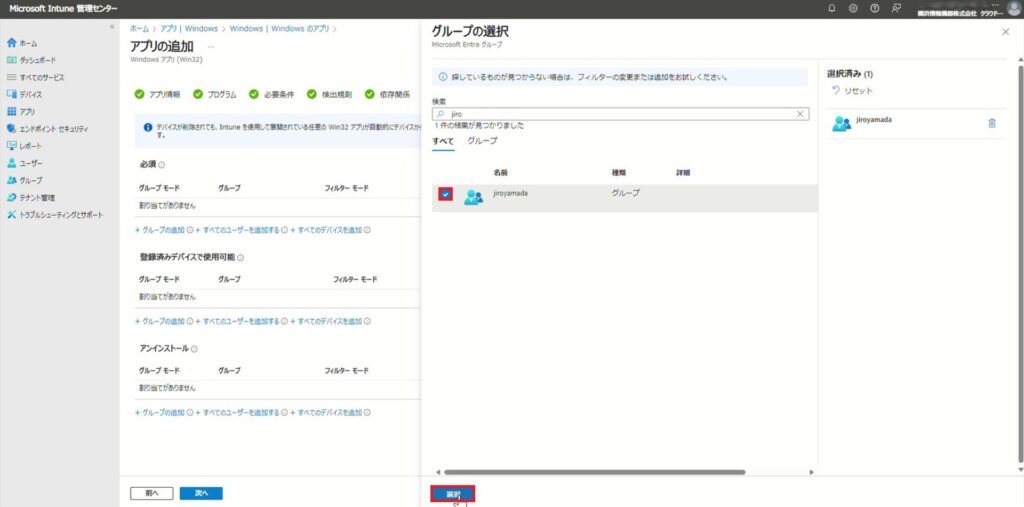
13.「グループの追加」をクリックします。
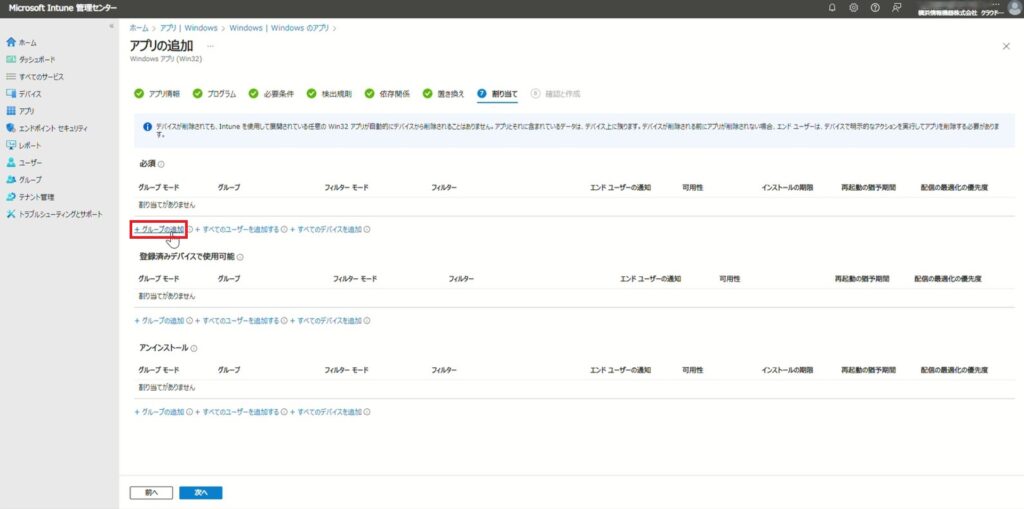
14.検索欄に追加したいグループにチェックを入れ、「選択」をクリックします。
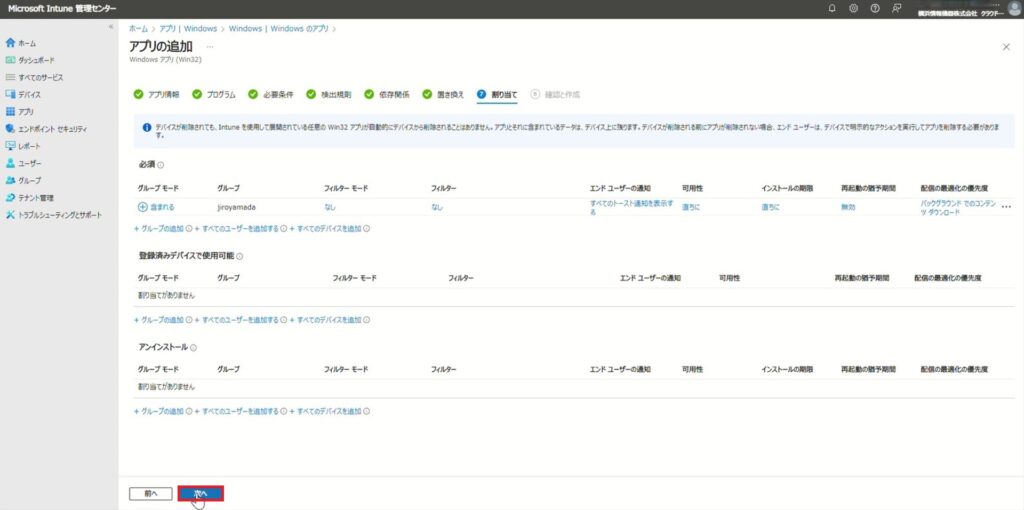
15 .「次へ」をクリックします。
16.内容を確認し、「作成」をクリックします。
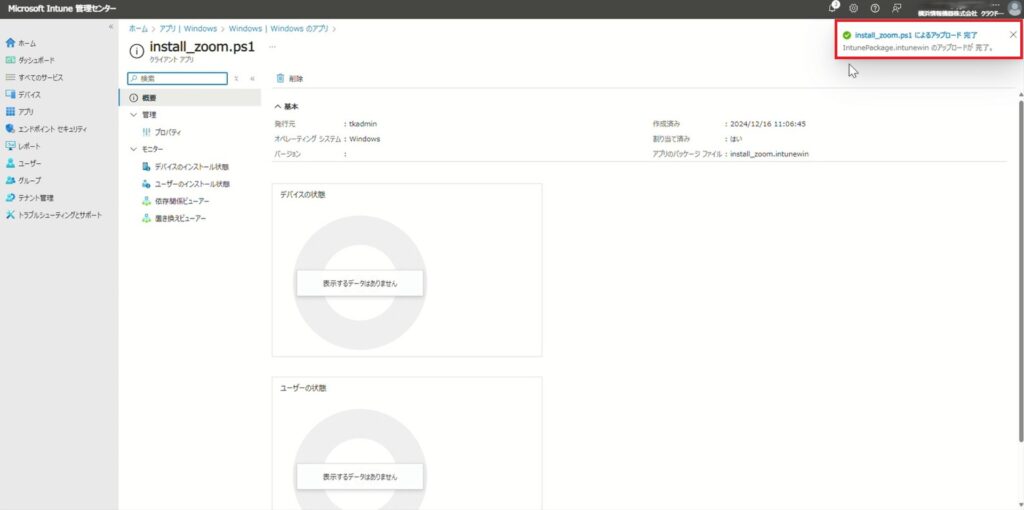
17.スクリプトを使ってアプリケーションが作成されました。
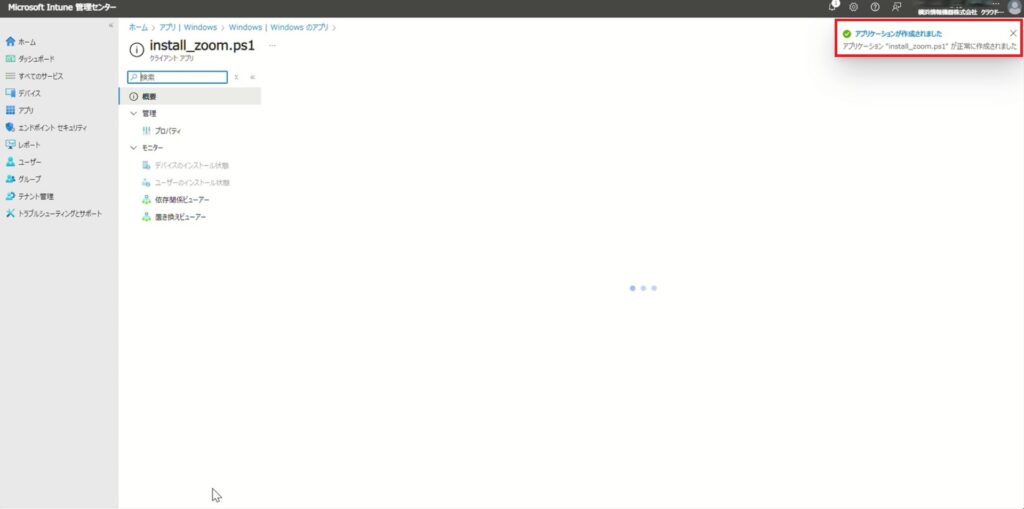
18.追加したアプリ(Zoom)のアップロードも完了されました。
Windows側からIntuneへ同期
Intune上でアプリを配布設定後、Windows側からIntuneへ同期する必要があります。下記が同期手順(Windows 11 ver.)になります。
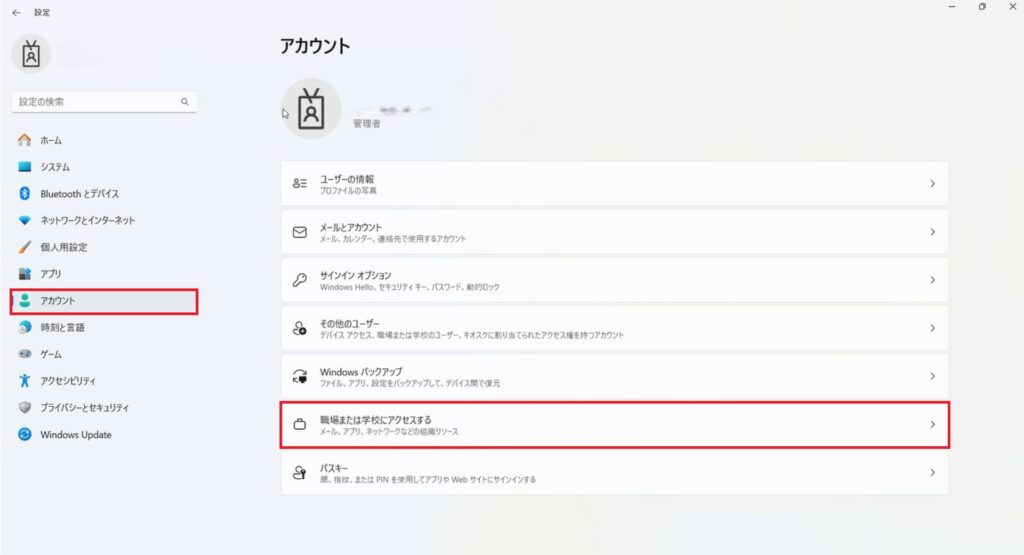
1.「設定」を開き、「アカウント」をクリックし、「職場または学校にアクセスする」をクリックします。
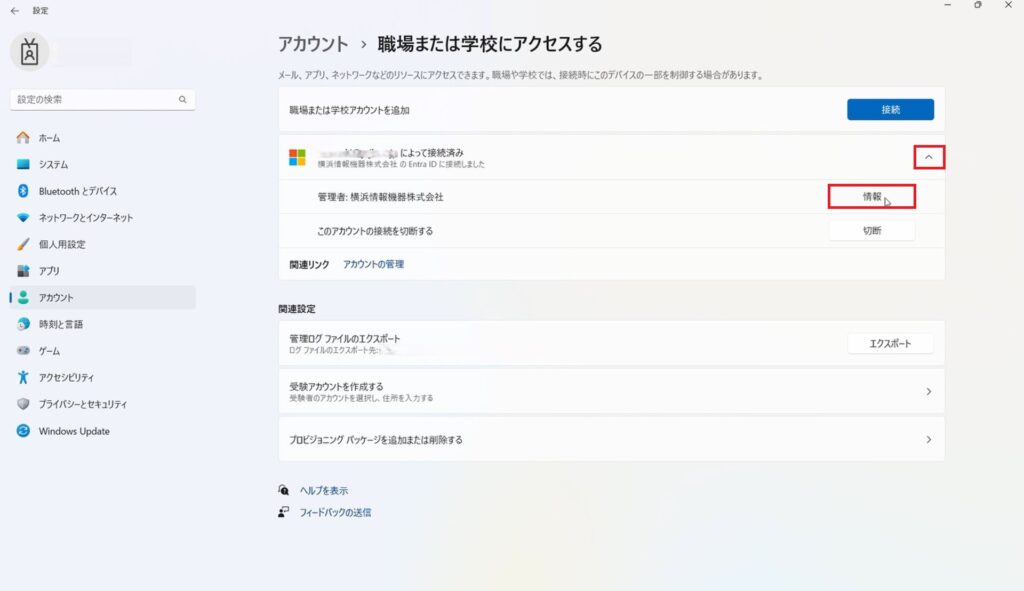
2.接続済みアカウントのタブを開き、「情報」をクリックします。
3.「同期」をクリックします。
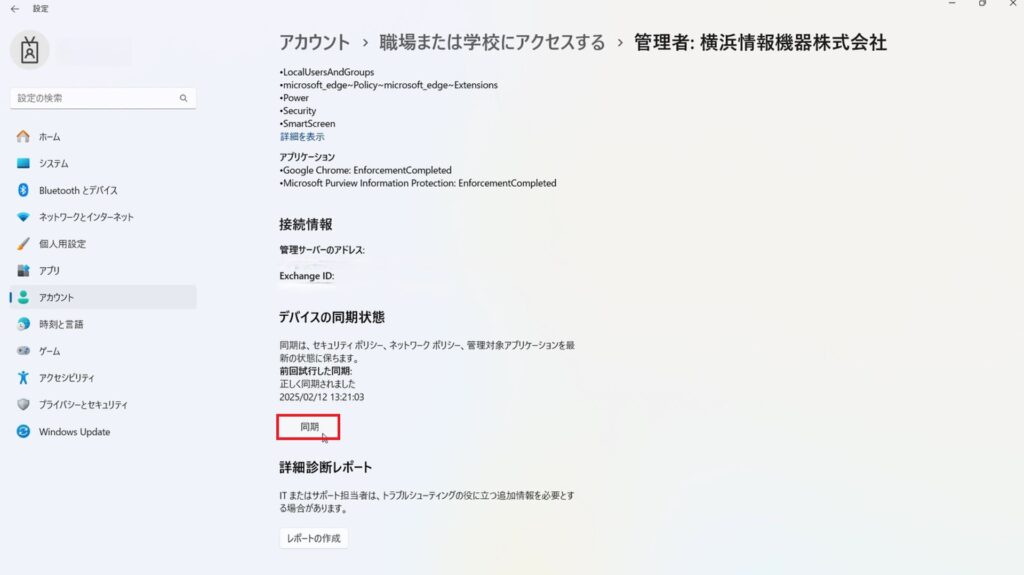
これにより同期が完了し、先ほど行った配布が反映されます。
| 同期してから反映にかかった時間 | 約20分 |
Windows 10 ver.はWindows10側からIntuneへ同期をすぐに実行する方法 | yjk365 をご参照ください。
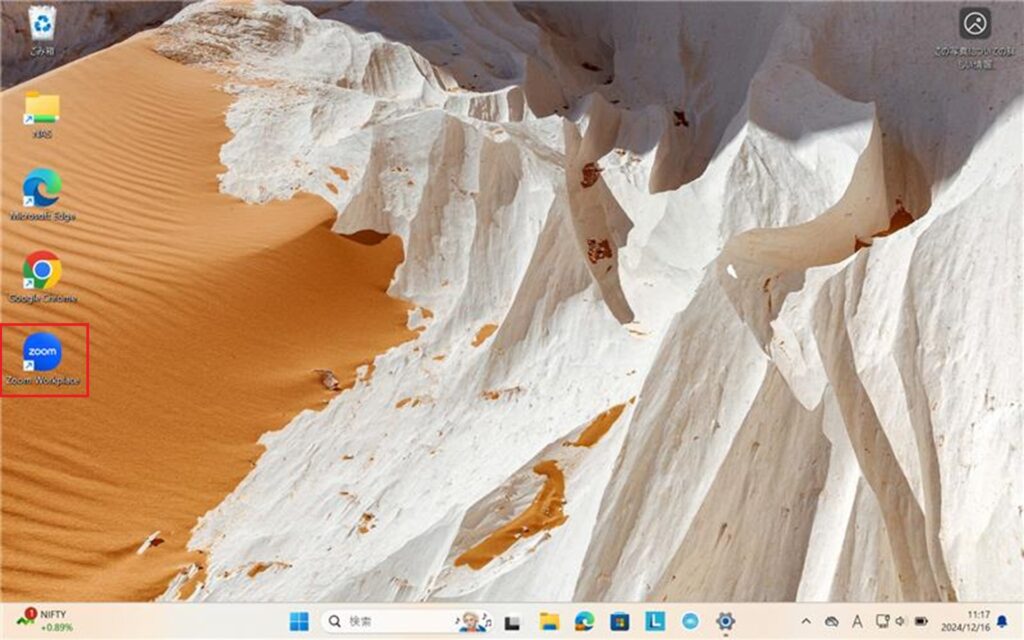
3.配布状況の確認
同期後、反映されたか確認してみましょう。
必要ならば、再起動も実施してみてください。
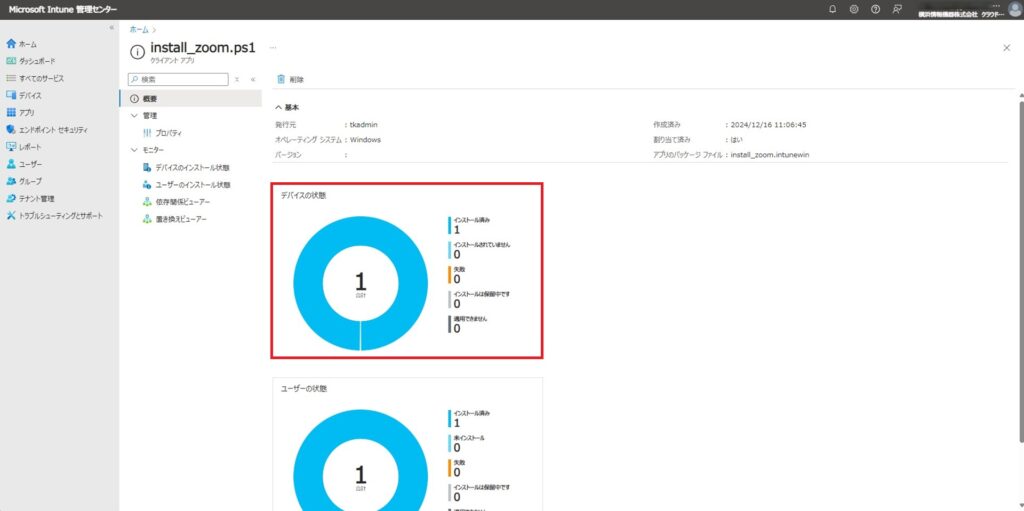
ホーム画面にZoomがインストールされていました。
Microsoft Intune上でも確認できました。
4.課題点
2-7.でコマンドを入れる作業について少し言及します。
本来ならば、コマンドなしでもアプリの配布設定は可能です。
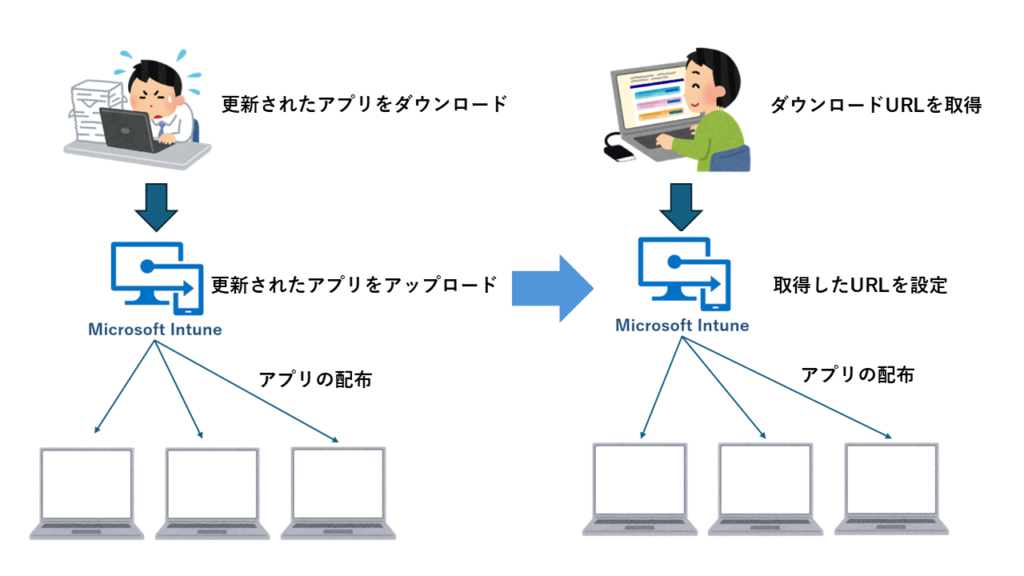
コマンドを入れた主な理由として、この記事の題名でもある 「アプリを自動でアップデート」に関係があります。 今回、使用したスクリプトはアプリの自動更新が出来ません。 なのでコマンド欄でアプリの各Install command、Uninstall commandを入力し配布することで自動更新の実現が可能になります。(※完全自動ではないのでアプリが更新するたびに都度、新しいURLを再入力、再配布の実施が必要です。)
| Install command | powershell -ExecutionPolicy Bypass “.\{ps1ファイルを指定} ‘{正式アプリケーション名を指定}’ ‘{調べたURLを指定}'” |
| Uninstall command | powershell -ExecutionPolicy Bypass “.\{ps1ファイルを指定} ‘{正式アプリケーション名を指定}’ -uninstall” |
install command, uninstall commandに必要な正式アプリケーション名と直接ダウンロードリンクの調べ方は下記ブログでご参考ください。
・正式アプリケーション名の調べ方と直接ダウンロードリンクの調べ方
5.スクリプトの解説
パラメータの定義
param(
   [string]$appName = "",
   [string]$downloadUrl = "",
   [switch]$remove = $false,
   [switch]$debugMode = $false
 )
- $appName: アプリケーションの名前を指定します。
- $downloadUrl: インストーラーのダウンロードURLを指定します。
- $remove: アンインストールを行うかどうかを示すスイッチです。
- $debugMode: デバッグモードを有効にするスイッチです。
デバッグモードの設定
if (!$debugMode){
$ProgressPreference = “SilentlyContinue”
}
- デバックモードが無効な場合、進行状況メッセージを抑制します。
アプリケーション名のチェック
if ($appName -eq “”) {
exit 1
}
アプリケーション名が指定されていない場合、スクリプトを終了します。
アンインストール処理
if ($remove)
{
$productId32 = (Get-ChildItem -Path “Registry::HKLM\SOFTWARE\Microsoft\Windows\CurrentVersion\Uninstall” | Get-ItemProperty | Where-Object DisplayName -eq $appName | Select-Object -ExpandProperty PSChildName)
$productId64 = (Get-ChildItem -Path “Registry::HKLM\SOFTWARE\WOW6432Node\Microsoft\Windows\CurrentVersion\Uninstall” | Get-ItemProperty | Where-Object DisplayName -eq $appName | Select-Object -ExpandProperty PSChildName)if ($productId32 -eq “” -and $productId64 -eq “”){
exit 1
}$productId = “”
if (!($productId32 -ne “” -or $productId64 -ne “”)){
$productId = $productId64
}else{
$productId = (echo $productId32$productId64)
}Start-Process -NoNewWindow -PassThru -Wait -FilePath “msiexec” -ArgumentList “/x”, $productId, “/qn”
Start-Sleep -Seconds 30
exit 0
}
- $remove: が指定されている場合、以下の処理を行います。
- レジストリから32ビットおよび64ビットの製品IDを取得します。
- 製品IDが見つからない場合、スクリプトを終了します。
- 両方の製品IDが見つかった場合、64ビットの製品IDを優先します。
- msiexec を使用してアプリケーションをサイレントモードでアンインストールします。
- アンインストールが完了するまで30秒間待機します。
インストール処理
if ($downloadUrl -eq “”) {
exit 1
}$appLabel = $appName.replace(” “,””)
$installerFile = “$appLabel.msi”Invoke-WebRequest -UseBasicParsing -Uri $downloadUrl -OutFile $installerFile
Start-Process -NoNewWindow -PassThru -Wait -FilePath “msiexec” -ArgumentList “/i”, $installerFile, “/qn”
Start-Sleep -Seconds 30
exit 0
- $downloadUrl が指定されていない場合、スクリプトを終了します。 これは、インストーラーをダウンロードするURLが指定されていないとインストールができないためです。
$downloadUrl が指定されている場合、以下の処理を行います。
- $appLabel: アプリケーション名のスペースを削除して
$installerFile: msi拡張子を付けたインストーラーファイル名を作成します。 - 指定されたURLからインストーラーをダウンロードします。
- msiexec を使用してアプリケーションをサイレントモードでインストールします。
- インストールが完了するまで30秒間待機します。
その他お困りごとも動画で解説!